Of course you can. It's not only possible to automate Canva, but you can generate thousands of personalized images in minutes, not hours. The magic happens when you connect a data source, like a simple spreadsheet, to a Canva template. By using no-code tools or APIs, you can transform a single design into endless, unique variations automatically.
Unlock Scalable Design with Canva Automation
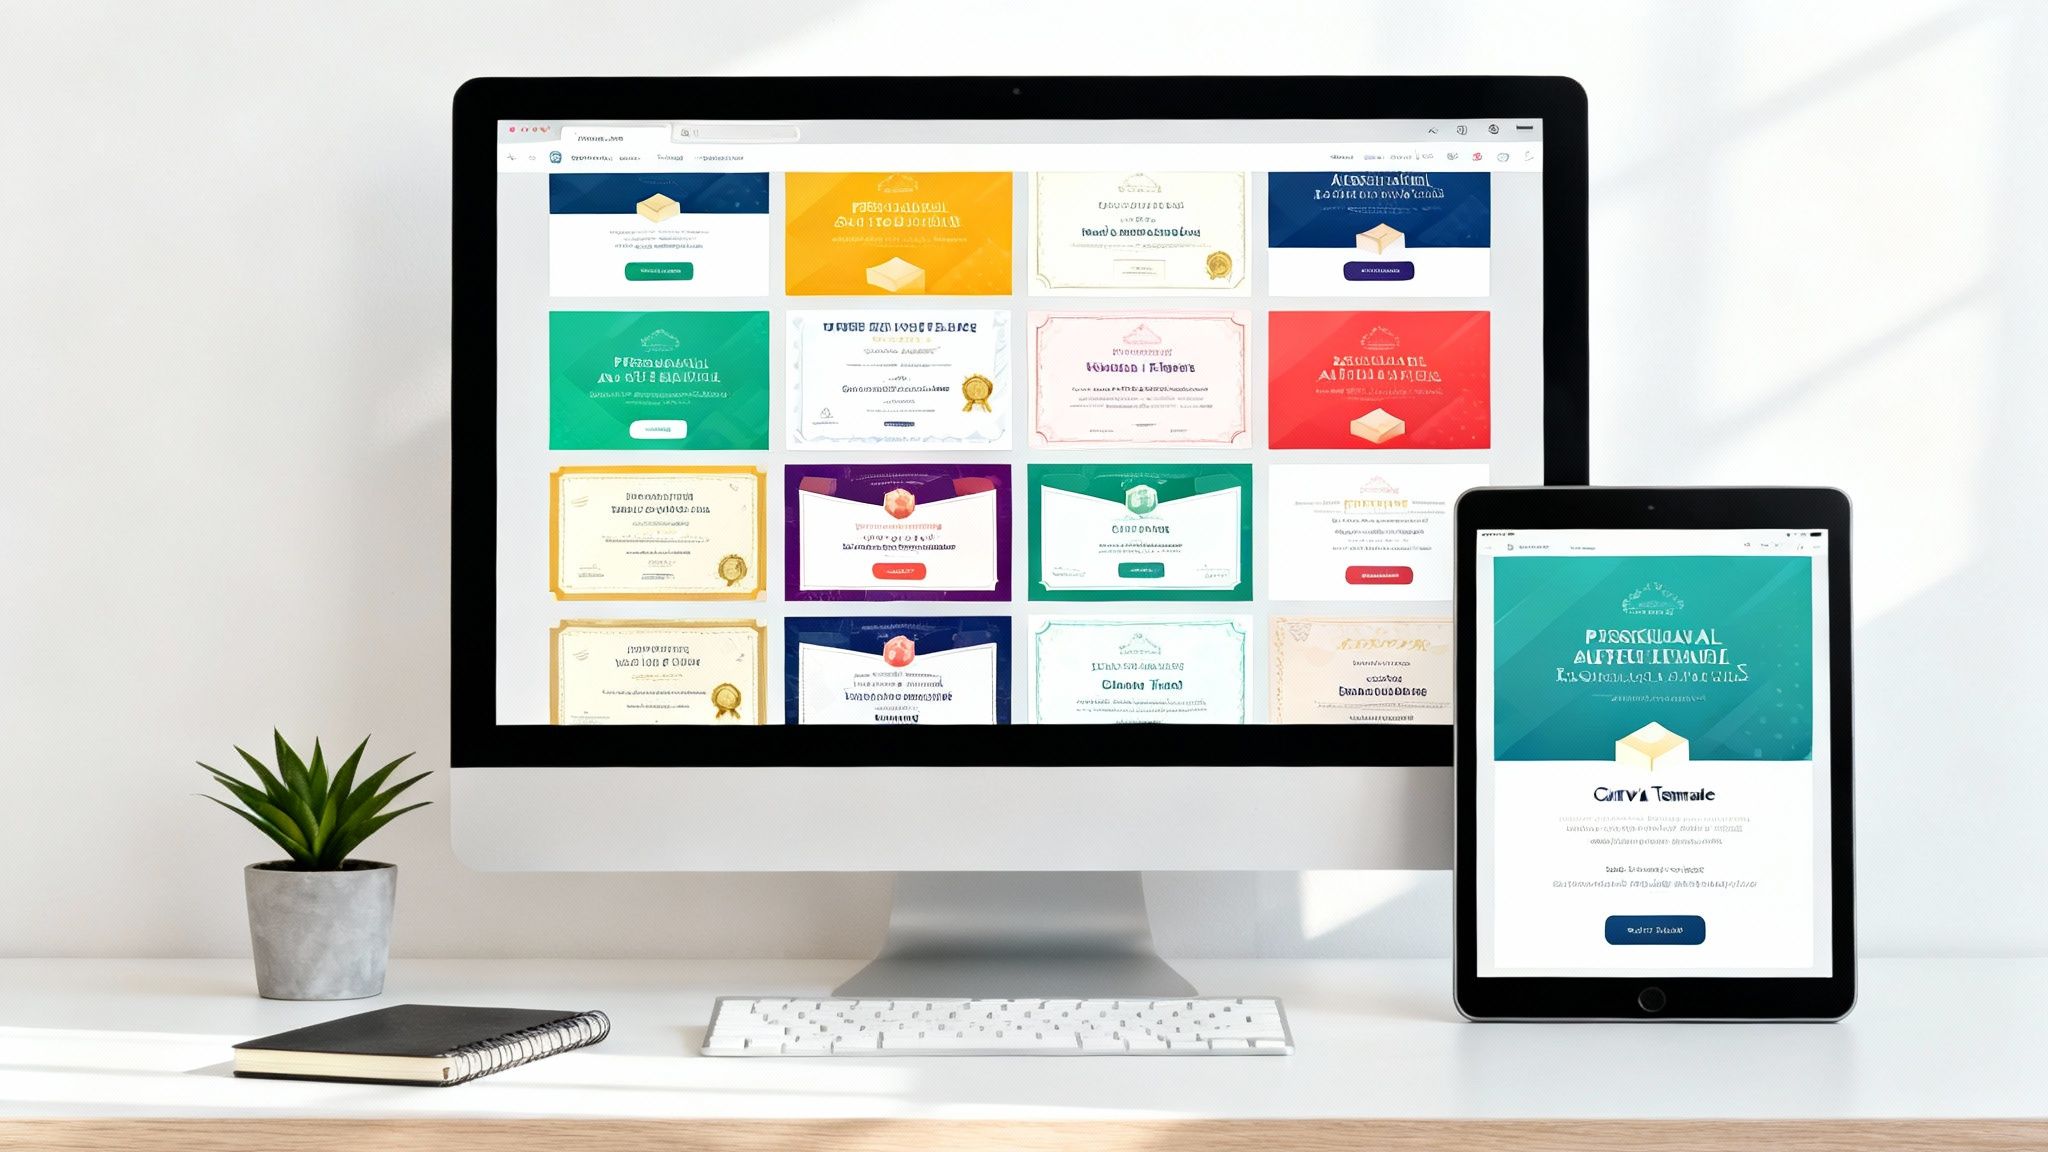
Imagine running a social media campaign where every single follower sees a graphic with their own name on it. Or what about sending out hundreds of personalized certificates after an event with just one click? This isn't some far-off dream for marketing teams with huge budgets; it's the real, practical power you get when you automate Canva. It’s a complete shift away from the soul-crushing, tedious work of editing designs one by one.
The concept is surprisingly simple but incredibly effective. You start by creating a master design in Canva. Then, you link it to a data source—think a Google Sheet or an Airtable base—that’s filled with all your variable information (like names, dates, or coupon codes). Each row in that sheet instantly becomes a unique, personalized graphic. This fundamentally changes how you approach visual content, opening the door to a level of scale that’s just impossible to achieve manually.
Why Automation Is a Game-Changer
To really get the most out of scalable design with Canva, it helps to start by understanding the fundamentals of workflow automation. At its core, automation is about building systems to handle repetitive tasks for you. This frees you up to focus on the creative and strategic work that actually matters.
When you apply this thinking to visual content, the benefits are immediate and huge:
- Massive Time Savings: You can stop spending countless hours duplicating and editing the same design over and over.
- Deep Personalization: Connect with your audience on a truly individual level by tailoring visuals with their specific information.
- Guaranteed Consistency: Every single graphic will perfectly match your brand guidelines without you needing to check them manually.
- Unmatched Scalability: Go from creating ten images to ten thousand, without the effort multiplying along with it.
Canva's own evolution backs up this shift. It's a platform with over 230 million active users across 190 countries, who have created over 35 billion designs. The introduction of AI-powered tools right inside Canva just reinforces the industry's move toward smarter, more efficient automation.
The real power of Canva automation lies in its ability to turn a static design into a dynamic communication engine. It’s the bridge between data and design, enabling personalization at a scale that was previously unimaginable for most businesses.
Let's look at the practical differences between sticking with the old way and embracing automation.
Comparing Manual vs Automated Canva Workflows
This table highlights the key differences in time, scalability, and consistency when creating personalized graphics manually versus using an automated approach.
| Aspect | Manual Design Process | Automated Canva Process |
|---|---|---|
| Time Investment | Hours or days. Every image requires individual attention. | Minutes. Set it up once and generate thousands instantly. |
| Scalability | Extremely limited. Creating 100+ images is a major project. | Nearly infinite. Scale from 10 to 10,000+ with no extra effort. |
| Personalization | Basic and time-consuming. Prone to copy-paste errors. | Deep and dynamic. Pulls directly from data sources for accuracy. |
| Consistency | High risk of errors and brand inconsistencies. | Perfect brand alignment. Every image follows the template rules. |
| Potential for Errors | Very high. Manual data entry is a recipe for typos. | Very low. Data is pulled directly, minimizing human error. |
As you can see, the automated process isn't just a minor improvement—it’s a completely different way of working that unlocks new possibilities for personalization and efficiency.
Get Your Data and Canva Templates Ready for Automation
Before you get to the magic part—creating hundreds of personalized graphics in minutes—you need to lay a solid foundation. Any good automation workflow relies on two key pieces: a well-structured data source and a properly set up Canva template. Getting these right from the start saves a ton of headaches down the road.
Think of your data source, like a Google Sheet or an Airtable base, as the command center for the whole operation. Each row will become a unique image, and each column holds a specific piece of information that will be personalized.
How to Structure Your Data for Success
Clarity and consistency are everything here. Your automation tool will read your column headers to know where to pull information from, so make them descriptive and easy to understand. Vague headers like "Column A" or "Text1" are a recipe for confusion.
Instead, use clear, descriptive names that will double as your merge tags:
ClientName: The perfect spot for a customer's first or full name.EventDate: Use this for the specific date of a webinar or meeting.ProfileImageURL: This column should contain direct links to images, like a headshot or a company logo.CouponCode: Ideal for unique promotional codes in your next marketing campaign.
A clean structure like this makes it incredibly simple to map your data to the right spots in your design. It also makes it much easier to figure out what went wrong if a graphic doesn't look quite right.
Setting Up Your Canva Template with Placeholders
Once your data is organized, the next step is to tell Canva exactly where to put each piece of information. You do this by adding special text placeholders—often called merge tags—directly into your design. The syntax couldn't be simpler: just wrap your column header in double curly braces.
For example, if your Google Sheet has a column named ClientName, you’d add a text box in your Canva design that literally says {{ClientName}}.
When the automation runs, it finds that placeholder and swaps it out with the actual client's name from the corresponding row in your spreadsheet. This same logic applies to every dynamic element you want to include. If you want to dive deeper into the mechanics, our guide on dynamic image generation breaks down the technical details.
Pro Tip: Make your placeholder text boxes a little larger than you think you need. Names like "Alexandra Weatherford" take up way more space than "Ian Li." Giving your text elements some breathing room prevents awkward line breaks or text overflowing in your final images.
Finally, always think about what happens when data is missing. A blank space where a name should be can make a design look amateurish. To avoid this, you need a plan for fallback text. Most automation tools let you set a default value, like "Valued Customer," to show up if the ClientName cell is empty. This small step ensures every single image you generate looks polished and professional, no matter what.
Build Your First No-Code Automation Workflow
Alright, you've got your data prepped and your template designed. Now for the fun part: connecting the two and watching the automation come to life. This is where we build the bridge that lets your spreadsheet data flow straight into your Canva design, churning out personalized images without you lifting a finger.
We'll walk through a classic, real-world scenario to show you how it's done.
Let's say you run an online community. You want to create a slick, custom welcome image for every single new member. The goal is to automatically grab a new member's name from a Google Sheet, pop it into a branded Canva template, and then save the finished graphic to a dedicated Google Drive folder. This is a perfect job for a no-code platform.
Choosing Your No-Code Connector
First things first, you need to pick a no-code tool to be the brains of the operation. Platforms like Zapier, Make, or n8n are fantastic for this because their whole purpose is to get different apps talking to each other, no coding required. The concepts are pretty much the same across the board, so we'll stick to the universal principles here.
If you're curious about which one is right for you, it's worth exploring the different no-code automation tools out there.
At their core, all these automation workflows have two main components:
- A Trigger: This is the event that kicks everything off.
- An Action: This is the job that gets done once the trigger fires.
For our welcome image, the trigger is simple: "A New Row is Added to a Google Sheet." The main action will be to "Create a Design in Canva." It's a clean, straightforward process that connects your data source to your design template.
This simple sequence is the heart of pretty much any no-code Canva automation you'll build.
Mapping Your Data Fields
Once you've set up your trigger and action, you'll hit the most critical part of the process: mapping. This is where you play matchmaker, telling the automation tool exactly which column from your Google Sheet goes into which placeholder in your Canva template.
Your tool will show you the merge fields it found in your design—like {{MemberName}} and {{JoinDate}}—and ask you to connect each one to a column in your spreadsheet.
You'll just pick "MemberName" from a dropdown list of your Google Sheet columns and pair it with the {{MemberName}} field from Canva. Easy. If you had an image placeholder, you'd do the same for your {{ProfileImageURL}} field, linking it to the column that holds all the direct image links. This step is what makes sure every piece of data ends up exactly where it's supposed to.
Configuring the Final Output
The last step is deciding what to do with the image once it's created. You don't want all those beautiful, personalized graphics just sitting on Canva's servers. The solution is to add another action step to your workflow, like "Upload File to Google Drive."
In this step, you can tell it the exact folder where you want the images saved. You can even get fancy and set up a dynamic file name, like Welcome-Image-{{MemberName}}.png. This keeps everything perfectly organized and easy to find, completing the loop from raw data to a finished, filed graphic—all on autopilot.
No-code platforms are fantastic for getting automations up and running quickly. But sometimes, you hit a wall. When your project needs more horsepower or a much deeper level of integration, it’s time to look beyond the pre-built connectors and go straight to the source: the Canva API.
Think of it this way: no-code tools are like a pre-built bridge connecting your apps. The API, however, gives you the steel, concrete, and blueprints to build a custom bridge—engineered exactly to your business's specifications. This unlocks a whole new level of control, perfect for handling massive volumes and creating unique workflows that off-the-shelf tools just can't match.
When to Choose the API
So, when does it make sense to roll up your sleeves and work with the API? Typically, it's when you need to embed design creation directly into your own product, service, or internal system. You get to build workflows that perfectly match your business logic, rather than twisting your process to fit a third-party tool's limitations.
Here are a few classic scenarios where the API is the clear winner:
- E-Learning Platforms: Imagine automatically generating a personalized course completion certificate the instant a student finishes a module. No manual work, just a seamless experience.
- E-commerce Stores: Create unique, on-brand "thank you" images that include specific order details, and then pop them into your confirmation emails for a personal touch.
- SaaS Products: Give your own users the power to design and export branded visuals right from inside your app's dashboard.
A Glimpse into the Technical Side
Diving into an API might sound a bit daunting, but the core ideas are pretty straightforward. It all starts with authentication, which is just your app securely introducing itself to Canva to get permission to make requests. Once you’re connected, you can interact with different endpoints—these are just unique URLs that correspond to specific actions, like creating a new design or modifying an existing one.
For example, a basic API call to generate an image would involve sending a small, structured piece of data (usually in a format called JSON) to a specific Canva endpoint. That data packet would contain the ID of your template and the dynamic content you want to fill in, like {"name": "Jane Doe", "date": "2025-10-26"}.
The Canva API essentially turns the design platform into a powerful, programmable engine. You're no longer just a user clicking buttons; you're a director telling the engine precisely what to create, how, and when.
This approach gives you incredibly fine-grained control over every single part of the image generation process.
If you're ready for a more technical deep-dive, our detailed guide on the Canva API offers a complete overview for developers and product managers. Getting a handle on these fundamentals is the first step toward building a truly powerful and integrated automation system with Canva.
Real-World Examples of Canva Automation
Theory is one thing, but seeing automation in action is where it really clicks. To help you connect the dots, let's walk through a few practical scenarios where you can put Canva automation to work, saving you a ton of time while getting better results. Think of these as blueprints you can steal for your own projects.

This explosion in design automation isn't happening in a vacuum. Canva’s user base ballooned from 60 million active users in 2021 to a projected 220 million by 2025. That's not just growth; it's a massive shift driven by people demanding simpler, smarter design tools.
Businesses and creators need to produce high-quality, personalized content at scale, and automation is the only way to keep up. You can dig into the numbers and discover the key statistics behind Canva's growth. It’s clear that learning to automate isn’t just a neat trick anymore—it’s becoming a core marketing skill.
Automate Personalized Social Media Mentions
Imagine running a campaign where you want to thank every single person who shares your content on X (formerly Twitter). Doing that by hand is a non-starter. With automation, it's not just possible—it’s easy.
- The Trigger: Start with a tool like Zapier and set up a trigger for any "New Mention of @YourHandle on X."
- The Data: The workflow automatically grabs the user's handle (like
@JaneDoe) and their profile picture URL. - The Action: That data gets pushed to a Canva template you’ve designed with placeholders like
{{UserHandle}}and an image spot. A custom "Thank You!" graphic is instantly generated with their specific handle and photo. - The Result: The final step? Set up an action to automatically reply to their tweet with the new personalized image. It’s a small touch that creates a genuinely memorable moment for your audience.
Generate Custom Email Headers at Scale
Personalized emails get way more engagement, but that personal touch usually ends with the subject line. By automating Canva, you can bring that same customization directly into the visuals of your emails, making each one feel unique.
For instance, a marketing agency hosting a webinar could create a custom header image for every single person who registers.
The workflow is beautifully simple. A registration form adds attendee names and company names to a Google Sheet. This triggers an automation that populates a Canva template with
{{AttendeeName}}and{{CompanyName}}, creating a unique header graphic for every single person who signs up.
This image can then be pulled into your confirmation and reminder emails with a simple merge tag. It grabs their attention right away and makes the event feel more exclusive, which can have a huge impact on show-up rates.
Streamline Event Badge Creation
If you've ever organized an event, you know the soul-crushing task of manually creating hundreds of name badges. It's tedious, mind-numbing, and a breeding ground for typos. This is a perfect job for Canva automation.
The process is straightforward: connect your event registration list (whether it's in a spreadsheet or a tool like Eventbrite) to your badge template in Canva.
Each row in your list contains the attendee's name, company, and maybe their ticket type like "VIP" or "Speaker." The automation zips through the entire list, generating a print-ready PDF for every single person—perfectly formatted and error-free. You can create hundreds of professional badges in minutes, not days.
Common Questions About Canva Automation
As you start dipping your toes into automating your Canva designs, a few questions are bound to pop up. It’s a totally normal part of the process. Getting ahead of these common hurdles can save you a ton of headaches and make sure your workflow is solid from day one.
Let's break down some of the most frequent things people ask.
Can I Automate Really Complex Designs?
One of the first questions is almost always about design limitations. Can this really handle a bunch of different design variations? The short answer is yes, but you need to be smart about it. Your automation is only as good as the templates and data you feed it.
For big design changes—say, you want a different color scheme on an event badge for VIPs—the cleanest way to handle it is by creating separate templates. Then, you can use a bit of logic in your automation tool, like a filter in Zapier, to send the data to the right template based on a specific value in your spreadsheet. Simple.
What Happens When Data Is Missing?
This is a big one. What happens if a name is missing from a cell or an image link is broken? You absolutely can't have your automation churning out broken-looking graphics. This is where fallbacks come in to save the day.
A well-built automation workflow should anticipate these gaps and handle them gracefully.
- For Text Fields: You can set a default value. If the
{{FirstName}}field is empty, your automation can swap in a friendly generic term like "Valued Member." - For Image URLs: You can also have a default brand logo or a generic placeholder image ready to go if a URL field is empty or points to a broken link.
This little bit of foresight ensures every single image that comes out looks polished and professional, protecting your brand even when the source data isn't perfect.
The real magic of automation isn't just making things work when the data is perfect. It's building a resilient system that expects and gracefully handles the inevitable imperfections.
Is This Going to Be Expensive?
Finally, everyone wants to know about the cost. The truth is, it really depends on your scale and which tools you pick. Many no-code platforms offer generous free tiers that are more than enough to get you started on smaller projects.
As you start generating more and more images, you might move into a paid plan, but the cost is usually a drop in the bucket compared to the hours of manual design work it saves.
Ready to stop editing images one by one? OKZest helps you create thousands of personalized images automatically. Think of it as mail merge for your visuals. Get started for free and see how easy it is to add personalized images to your next campaign. Learn more at https://okzest.com.