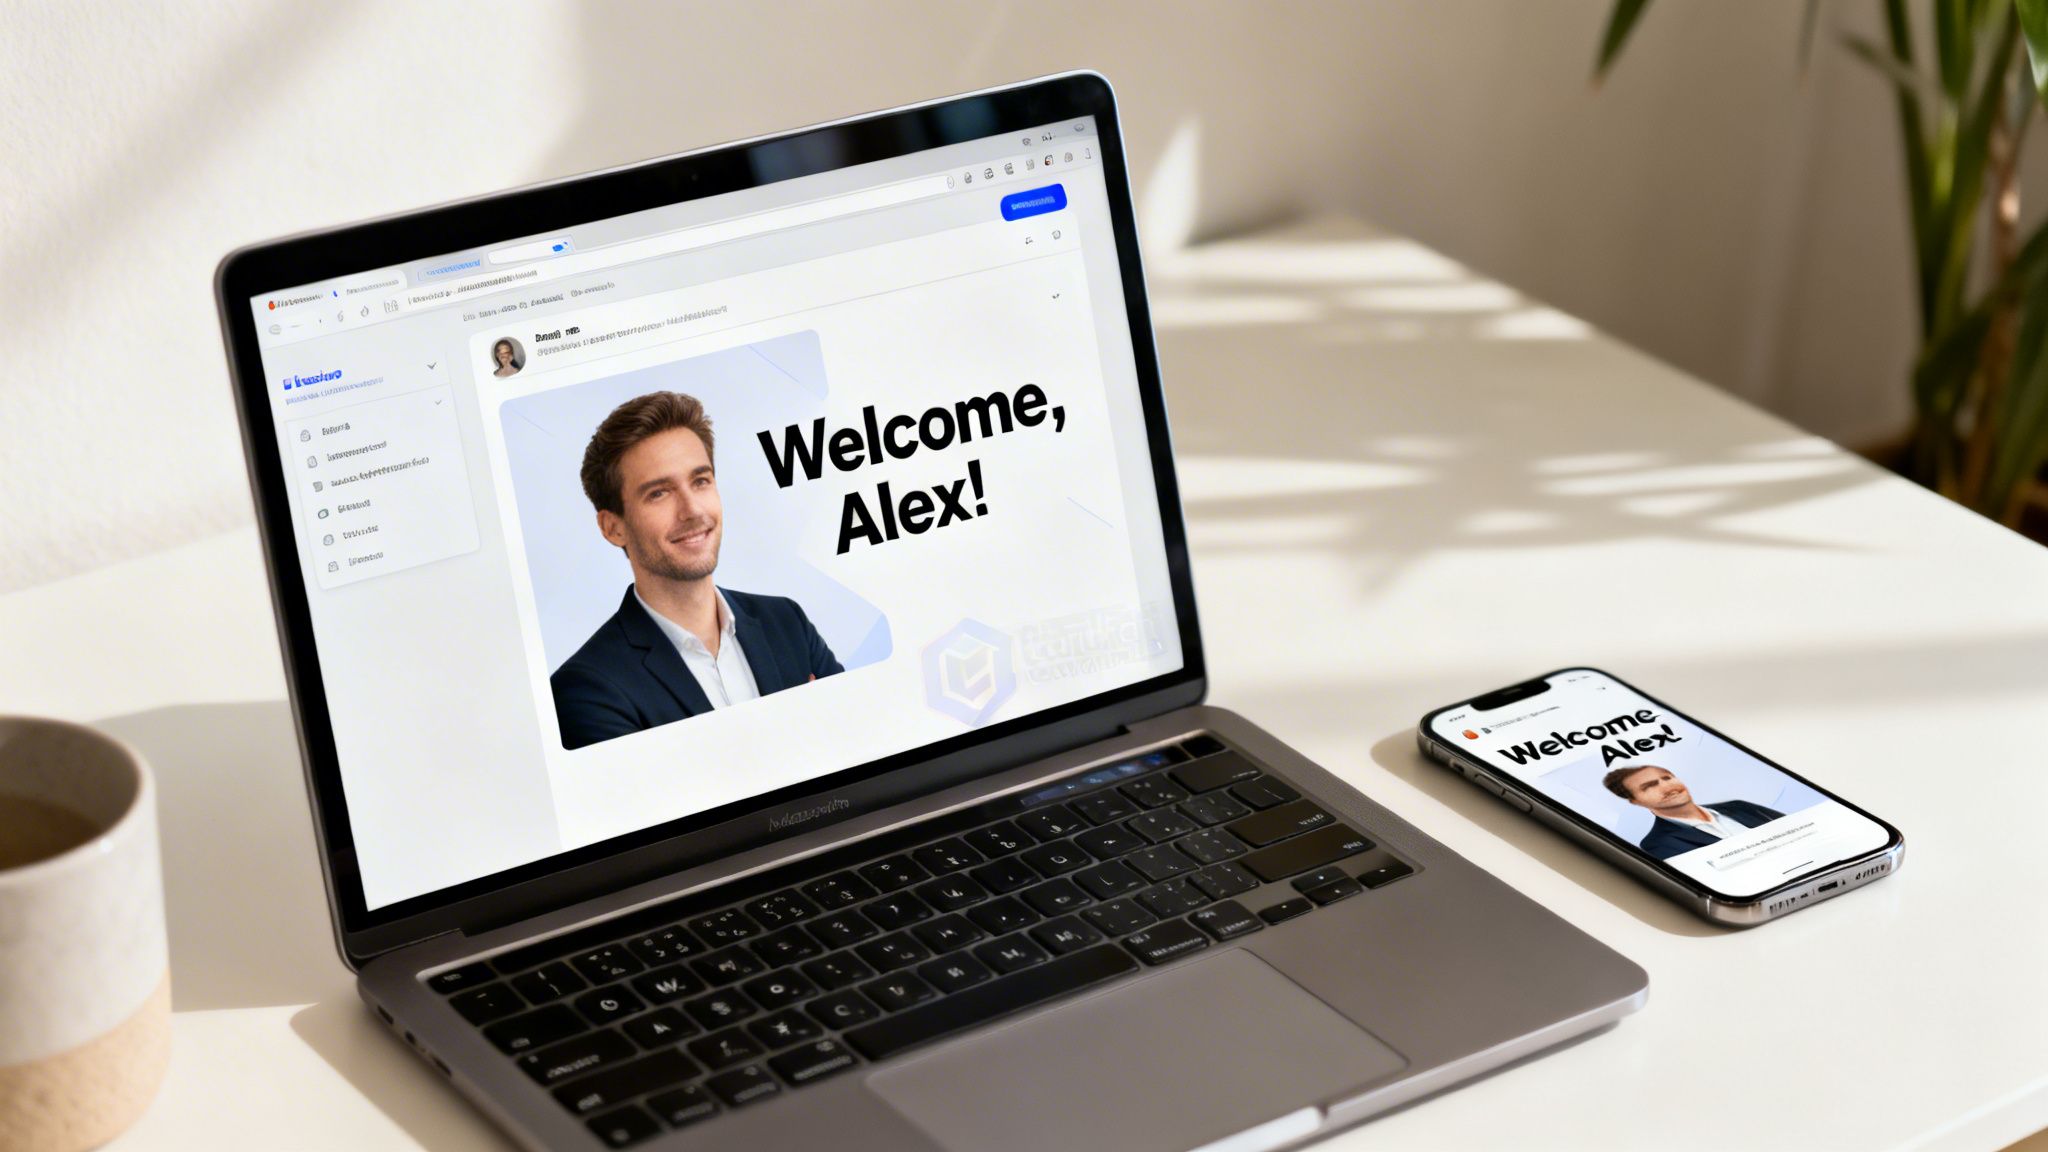
Imagine sending every customer an image with their name on it, automatically.
Why Dynamic Images Are a Game Changer in Marketing
This isn't about slapping a static logo onto a picture. It’s about creating deeply personalized visuals for every single person you interact with, at a massive scale. For marketers and sales teams, this is a huge leap forward from relying on the same generic stock photos everyone else uses.
With the right tools, you can now change text, logos, and even user photos on an image just by tweaking its URL. This simple but powerful technique opens the door to a much more engaging and effective way to communicate. Let's dig into how you can use this to boost engagement and strengthen your brand.
Moving Beyond Static Visuals
In a packed inbox or a fast-scrolling social feed, generic images are invisible. A watermarked image generator with URL parameters helps you cut through that clutter by making your visuals feel personal and directly relevant to each viewer.
Instead of a one-size-fits-all graphic, you can craft a unique experience for every individual. Just think of the possibilities:
- Personalized Welcome Messages: Greet new users with an image featuring their name or profile picture.
- Dynamic Event Passes: Automatically generate unique QR codes and attendee names for your events.
- Custom Sales Outreach: Impress prospects by including their company logo and name in your outreach visuals.
- Tailored Promotional Offers: Display a unique discount code right on a product image, just for them.
The real magic here is simple: personalization creates a connection. When a customer sees an image made just for them, it sends a clear signal that they’re more than just another number on a list.
This approach turns your images from passive background decoration into active tools that drive engagement. If you're curious about the technical side, our post on how a URL-based image generator works is a great place to start. In this guide, we'll walk through the practical steps to get this running for your own campaigns.
Crafting Your Dynamic URL Structure
The URL is the engine behind your entire watermarked image generator. It’s not just a web address; it's a dynamic recipe that tells our server exactly how to build each personalized visual on the fly. When you get this structure right, you gain the power to create endless variations from a single template, making your marketing both scalable and incredibly specific.
Think of the base URL as your blank canvas and the parameters as your palette of paints. Each parameter you add is another layer of customization. This is where clarity is everything. I've seen countless projects get messy because of poorly named parameters like p1, p2, or text1—they quickly become a nightmare to manage, especially in complex campaigns.
Designing Clear and Scalable Parameters
To keep your projects organized and easy to troubleshoot, it’s vital to adopt a clear naming convention from the very beginning. Your parameter names should be descriptive and intuitive, essentially acting as self-documenting labels for whatever they control.
For a campaign personalizing a welcome image, you might use parameters like:
customer_name: To overlay the user's first name.profile_pic_url: To pull in a user's profile photo from another URL.promo_code: To display a unique discount code.bg_color: To change the background color of the image.
This simple practice makes your URLs readable at a glance. It saves a huge amount of time when you or a teammate needs to revisit a campaign weeks or months later. You can immediately see what the URL is supposed to do just by reading it.
A logical URL structure is the foundation of a successful dynamic image campaign. When your parameters are clear, you spend less time debugging and more time creating impactful visuals that resonate with your audience.
Getting this right is becoming more critical as the demand for personalized content explodes. The market for tools that enable this, like OKZest's watermarked image generator with url parameters, is growing fast. In fact, the AI image generator market was valued at USD 0.51 billion in 2026 and is projected to hit USD 0.97 billion by 2030, driven by this exact need for personalized marketing.
The table below breaks down the essential parameters you'll need. Think of it as a cheat sheet for building flexible and powerful image URLs.
Essential URL Parameter Design Guide
A breakdown of common parameter types, naming conventions, and real-world examples for building flexible, dynamic image URLs.
| Parameter Type | Example Name | Purpose & Use Case | Sample Value |
|---|---|---|---|
| Text Overlay | name or first_name |
To add personalized text like a customer's name onto the image. | Sarah |
| Image Overlay | logo_url or profile_pic |
To insert another image, like a company logo or user photo, from a URL. | https://site.com/logo.png |
| Dynamic Data | promo_code or qr_data |
For unique, data-driven elements like discount codes or QR code content. | SAVE20 |
| Conditional Logic | show_badge |
To control the visibility of certain layers or elements (e.g., true/false). |
true |
| Style & Format | bg_color or font_size |
To adjust visual properties like colors, fonts, or image dimensions. | ff0000 |
By using a mix of these parameter types, you can build a truly dynamic system where one base URL can serve thousands of unique, personalized images.
Real-World URL Examples
Let's see how this works in practice. Say you have a base image template for a conference badge. Your starting URL might look like this:
https://api.okzest.com/v1/images/template_123.jpg
Now, let's add parameters to personalize it for an attendee named "Sarah Jones" from "TechCorp":
?name=Sarah%20Jones&company=TechCorp&qr_code_data=sarah-jones-123
The generator grabs this URL, overlays "Sarah Jones" and "TechCorp" in the right spots, and even generates a unique QR code. The %20 you see is just URL encoding, which is how web browsers safely handle spaces and other special characters. You can explore a complete breakdown of how to construct a powerful image API using URL parameters in our detailed guide.
Another common and super useful technique is setting fallbacks. What happens if you don't have a customer's name? A well-built system can handle that gracefully.
?name={{FIRST_NAME|there}}
In this email marketing merge tag example, if the FIRST_NAME data is missing, the image will simply say "there" instead of showing an ugly blank space or an error. This ensures every image looks complete and professional, no matter what data you have on hand.
Alright, you've got your URL structure planned out. Now for the fun part: actually building the thing.
When it comes to creating a watermarked image generator with URL parameters, you've really got two main paths to choose from. You can either use a ready-made API service, or you can roll up your sleeves and build a custom solution from the ground up. Which one is right for you boils down to your technical skills, budget, and how much control you need.
The No-Code and API-First Approach
The fastest way to get an image generator up and running is with a dedicated no-code API service. We’re talking minutes, not weeks. Tools like our own OKZest are built for exactly this purpose. You get a visual, drag-and-drop editor to create your image template, placing dynamic layers for text and images right where you want them.
Once you save that template, the service hands you a base URL. From there, you just tack on the parameters you've already designed to create new images on the fly. No server headaches, no code to maintain, and no wrestling with complex libraries.
So, what does this look like in practice? Let's say you've got your template's base URL. You can build the full dynamic URL right in your browser or with a quick snippet of JavaScript.
const baseURL = "https://api.okzest.com/v1/images/your-template-id.jpg";
const userName = "Alex Rivera";
const userCompany = "Innovate Inc.";

// URL-encode the parameters to handle spaces and special characters
const finalImageURL = `${baseURL}?name=${encodeURIComponent(userName)}&company=${encodeURIComponent(userCompany)}`;

console.log(finalImageURL); // Your ready-to-use image URL!
That little bit of code is all it takes to integrate dynamic images into a web app or email marketing platform. You just build the URL string and drop it into an <img> tag. The flow is simple: start with a base URL, add your parameters, and you get a finished, personalized image.
This diagram shows how that simple URL gets transformed into a unique visual.

Think of each parameter as a direct command, telling the generator exactly how to customize the image from your base template.
Building Your Own Serverless Solution
On the other hand, if you crave total control or have some very specific needs, building your own generator with serverless functions is a fantastic option. Platforms like Vercel, Netlify, or AWS Lambda are perfect for this, letting you run code in response to a web request without ever touching a traditional server.
A popular stack for this is Node.js paired with Sharp.js, a seriously powerful image processing library. The workflow usually looks something like this:
- Read the URL Parameters: Your function grabs the data from the query string (e.g.,
req.query.name). - Load the Base Image: It pulls up your template image from your project files.
- Apply Overlays: Using Sharp, it programmatically composites text or other images onto the base. You can control everything—fonts, colors, positions.
- Add Your Watermark: Your logo is then overlaid, typically in a corner with adjusted opacity.
- Return the Final Image: The function sends the newly created image back as the response.
This DIY approach gives you maximum flexibility. You can use any font you want, build complex conditional logic, or hook into private data sources. But that power comes with the responsibility of writing, testing, and maintaining all the code yourself.
If you want to see a great example of these principles in a live product, check out a platform like magicmeme.com. It's a solid dynamic image generator that really showcases how URL parameters can be used to create content on the fly.
Ultimately, the choice between a ready-made API and a DIY solution comes down to your project's scale, your timeline, and your team's technical bandwidth.
Putting Your Personalized Images to Work
So you’ve built a powerful watermarked image generator with URL parameters. Now what? The real magic happens when you move beyond the generator itself and weave these dynamic visuals into the marketing tools you rely on every day.
The whole point is to make personalization automatic. You shouldn't be stuck manually creating every single image. The system should handle that for you, triggered by the campaigns and user actions you've already set up.
Supercharge Your Email Campaigns
For anyone in email marketing, this is a total game-changer. Platforms you're already using, like Klaviyo, Mailchimp, or Instantly, all depend on merge tags (sometimes called personalization variables) to pull in subscriber data like a first name or purchase history. You can use those same tags to construct your dynamic image URL on the fly.
Let's say you've designed a "Thank You" image template in OKZest. Your base URL is https://api.okzest.com/v1/template123.jpg. To make it personal, you just add the merge tag from your email service provider (ESP) to the end.
- For Mailchimp:
src=".../template123.jpg?name=*|FNAME|*" - For Klaviyo:
src=".../template123.jpg?name={{ first_name }}"
When your email goes out, the ESP swaps the merge tag with each subscriber's name, and our generator instantly creates a unique image just for them. It’s a simple HTML snippet that sits in your email template, doing all the heavy lifting in the background.
This level of personalization really matters. The AI watermarking market—which includes the tools that create these dynamic visuals—was valued at USD 520.50 million in 2025 and is on track to hit a staggering USD 3,196.74 million by 2033. As AI content becomes the norm, using it to create genuine, one-to-one connections is a huge advantage. You can dig into the market trends and see how other businesses are adapting.
Going Beyond the Inbox
But why stop at email? The beauty of a URL-based image is that it works almost anywhere you can use HTML. This lets you create a consistent, personalized experience across your entire customer journey, not just in their inbox.
The core idea is simple: if you can insert an
<img>tag, you can insert a dynamic, personalized image. This opens up a world of possibilities for creating engaging, one-to-one interactions at scale.
Here are a few practical ideas for your watermarked image generator with URL parameters:
1. Dynamic Website Banners Welcome visitors back to your site with a banner that uses their name or mentions their last purchase. A quick HTML snippet on your landing page is all it takes.
<img src="https://api.okzest.com/v1/banner.jpg?name=Alex&last_item=Running%20Shoes" alt="Welcome back, Alex!">
2. Personalized Chatbot Interactions If a user gives your chatbot their name, the bot can instantly respond with an image that includes it. This small touch makes the conversation feel much more human and less robotic.
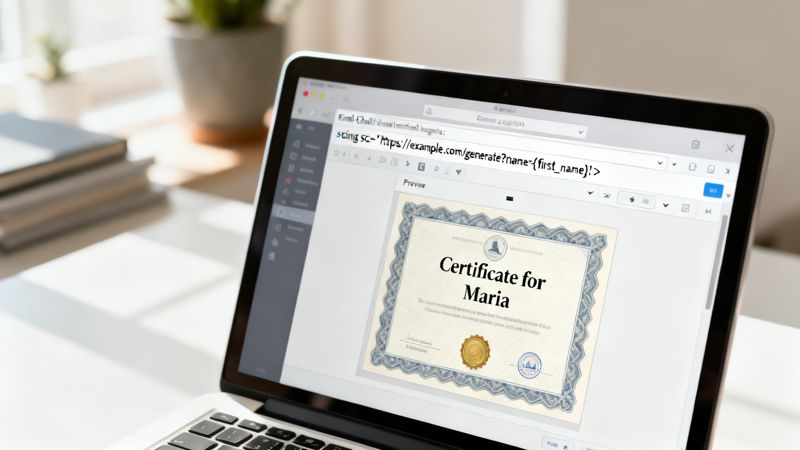
3. Automated Certificates for Events After someone attends your webinar or finishes a course, you can automatically generate and email them a personalized certificate of completion. Just pass their name and the course title as URL parameters. It's a professional touch that also encourages people to share their achievement on social media.
Optimizing for Security and Performance
Alright, so you've built your generator and it's live. What's next? The job isn't quite done. Now it's all about making sure it's fast, dependable, and locked down. An open endpoint is an open invitation for misuse, which can quickly run up your server bills or damage your brand. And on the flip side, slow-loading images will just frustrate people and kill engagement.
Let's walk through the must-do steps to harden your generator and get it running like a well-oiled machine.
Protecting your watermarked image generator with url parameters really comes down to controlling who can create images and how they do it. A publicly accessible generator will get abused—it's not a matter of if, but when. Putting a layer of security in place is non-negotiable.
Securing Your Image Generation Endpoint
When you’re building a generator that works off URL parameters, solid application programming interface security is critical for protecting your MarTech stack and user data. I generally rely on two common methods to get this done: signed URLs and API keys.
- Signed URLs: For many situations, this is my go-to method. Instead of just creating a URL with your parameters, your backend code also creates a cryptographic signature—a unique hash—based on those parameters and a secret key you control. This signature gets tacked on as another parameter. Your generator will only produce an image if that signature is valid, which stops anyone from messing with the URL or generating images you didn't authorize.
- API Keys: This is a simpler route. You just require a secret API key to be passed along in the request headers. Your generator checks for a valid key before it does anything else. This approach is great for server-to-server communication, but it's not as secure for client-side apps where the key could potentially be exposed.
No matter which path you take, the end goal is identical: make sure every single request to generate an image is legitimate and authorized. This is how you stop bad actors from burning through your server budget or creating off-brand content with your tool.
These security measures are also part of a much bigger trend toward authenticity. The AI watermarking market, which is the foundation for these secure generators, is growing like crazy. It hit USD 528.1 million in 2024 and is projected to skyrocket to USD 5,694.2 million by 2034.
Boosting Performance with Caching
Generating images on the fly takes a lot of processing power. If two different people request the exact same personalized image, your server shouldn't have to do all that work twice. This is where a Content Delivery Network (CDN) like Cloudflare or Amazon CloudFront becomes your best friend.
By setting the right Cache-Control headers on your image responses, you can tell CDNs to save a copy of the generated image. The first time a unique URL is requested, your server creates the image and serves it. That image then gets stored on the CDN's servers all around the globe.
From that point on, any request for that exact same URL gets served instantly from the CDN's cache without ever touching your server. This makes a massive difference, cutting down your server load, reducing costs, and delivering a much faster, snappier experience for your users.
If you're interested in diving deeper into connecting systems like this, you might find our guide on API integration best practices helpful.
Common Questions About Dynamic Image Generation
Once you start building with a watermarked image generator, you’ll quickly run into a few common gotchas. These are the little details that can trip you up, but getting them right is what separates a clunky implementation from a truly professional one. Let's walk through some of these practical hurdles and the straightforward ways to clear them.
One of the first things you'll likely bump into is handling text with special characters or spaces. If you try plugging something like "Sarah & Co." straight into a URL, that ampersand (&) is going to break everything—it'll try to start a new URL parameter.
The fix is URL-encoding any text you pass through the URL. This simple process converts tricky characters into a web-safe format. A space becomes %20, and an ampersand becomes %26. You don't have to do this by hand, thankfully. Pretty much every programming language has a built-in function for it, like encodeURIComponent() in JavaScript, which makes it a breeze.
Can I Use Any Font I Want?
The question of fonts always comes up. The short answer? It really depends on how you've set up your image generator.
- API Services: If you’re using a service like OKZest, you’ll usually get a curated library of fonts to choose from. This often includes a great selection of popular Google Fonts, which covers most use cases.
- DIY Serverless Functions: Building it yourself gives you total freedom, but also total responsibility. You'll need to package your font files (like
.ttfor.otf) with your serverless function and then load them in your code. Just be absolutely sure you have the right license to use and distribute any custom fonts you pick.
The key takeaway here is to think about your font needs from the start. If a specific brand font is a must-have, a DIY approach might be your only option. Otherwise, a good API service's library is usually more than enough and a whole lot easier.
Finally, let's talk about performance. What happens when your campaign really takes off and you suddenly need to create thousands of images at once? Generating images on the fly can be a heavy lift for a server. If you get slammed with a ton of requests all at the same time, things can grind to a halt.
This is precisely why a smart caching strategy is non-negotiable. By putting a Content Delivery Network (CDN) in front of your generator, each unique image only gets created once. After that, every single request for that same image URL gets served instantly from the CDN's cache. This protects your server from getting overwhelmed and guarantees a fast, smooth experience for everyone.
Ready to create stunning personalized images for your next campaign? With OKZest, you can build a powerful watermarked image generator with URL parameters in minutes, no code required. Start for free on okzest.com and see how easy it is to connect with your audience.