You’ve probably already felt the ceiling on generic creative. The email copy is solid, the offer makes sense, the audience is segmented, and yet the campaign still looks like it was built for “everyone.” That’s usually where beginners start looking at image APIs, not because they want to become developers, but because they need a practical way to make visuals feel personal without designing every asset by hand.
That’s the primary entry point to a custom image generation api for beginners. Not abstract AI experimentation. Not novelty artwork. A usable workflow that turns one design into many versions, each matched to a person, company, event, or moment in the customer journey.
The jump that matters is small but important. First, you learn how to make one image with an API. Then you learn how to feed it data, apply fallbacks, and place the result inside email, social, web, or messaging workflows. That second step is where marketing teams usually get stuck, and it’s also where the payoff starts to become real.
Beyond Generic Greetings Why Personalized Images Matter
A lot of teams stop at first-name personalization in the subject line. That still has value, but most inboxes are crowded with the same trick. If every brand says “Hi Sarah,” nobody stands out for saying it.
Visual personalization changes the experience. A webinar registration image with the attendee’s name and event date feels more intentional than a stock header. A sales follow-up banner that shows the prospect’s company name feels like work was done for that account. A creator outreach image that references the channel or audience feels less disposable than a plain attachment.
What changes when the image itself is personalized
Personalized visuals don’t just decorate the message. They help the recipient recognize that the content was assembled for them, not sprayed to a list. That matters in email, social DMs, certificates, event follow-up, and customer success touchpoints.
The measurable upside is strong. Dynamic visuals in emails and social media are associated with a 29% increase in user interaction rates, and personalized images yield 41% higher retention in influencer marketing according to the Adobe Firefly documentation referenced here: personalized image engagement benchmarks.
Personalized images work because they signal effort at the exact moment most campaigns feel automated.
This idea already shows up in adjacent industries. Real estate teams, for example, use customized visuals to help buyers picture a property differently. If you want a non-email example of how visuals shape response, this guide on how agents use virtual staging is worth a look.
Why marketers should care about APIs
For beginners, “API” can sound like something owned by engineering. In practice, marketers should think of it as a delivery mechanism. It’s the way your campaign asks a system to create or assemble an image on demand.
That matters because manual personalization doesn’t scale. Designing fifty certificate images is annoying. Designing five thousand is a process problem. An API solves the production side so the team can focus on creative rules, brand control, and data quality instead of exporting files all afternoon.
A good mental model is simple. Your design becomes a system, not a one-off asset.
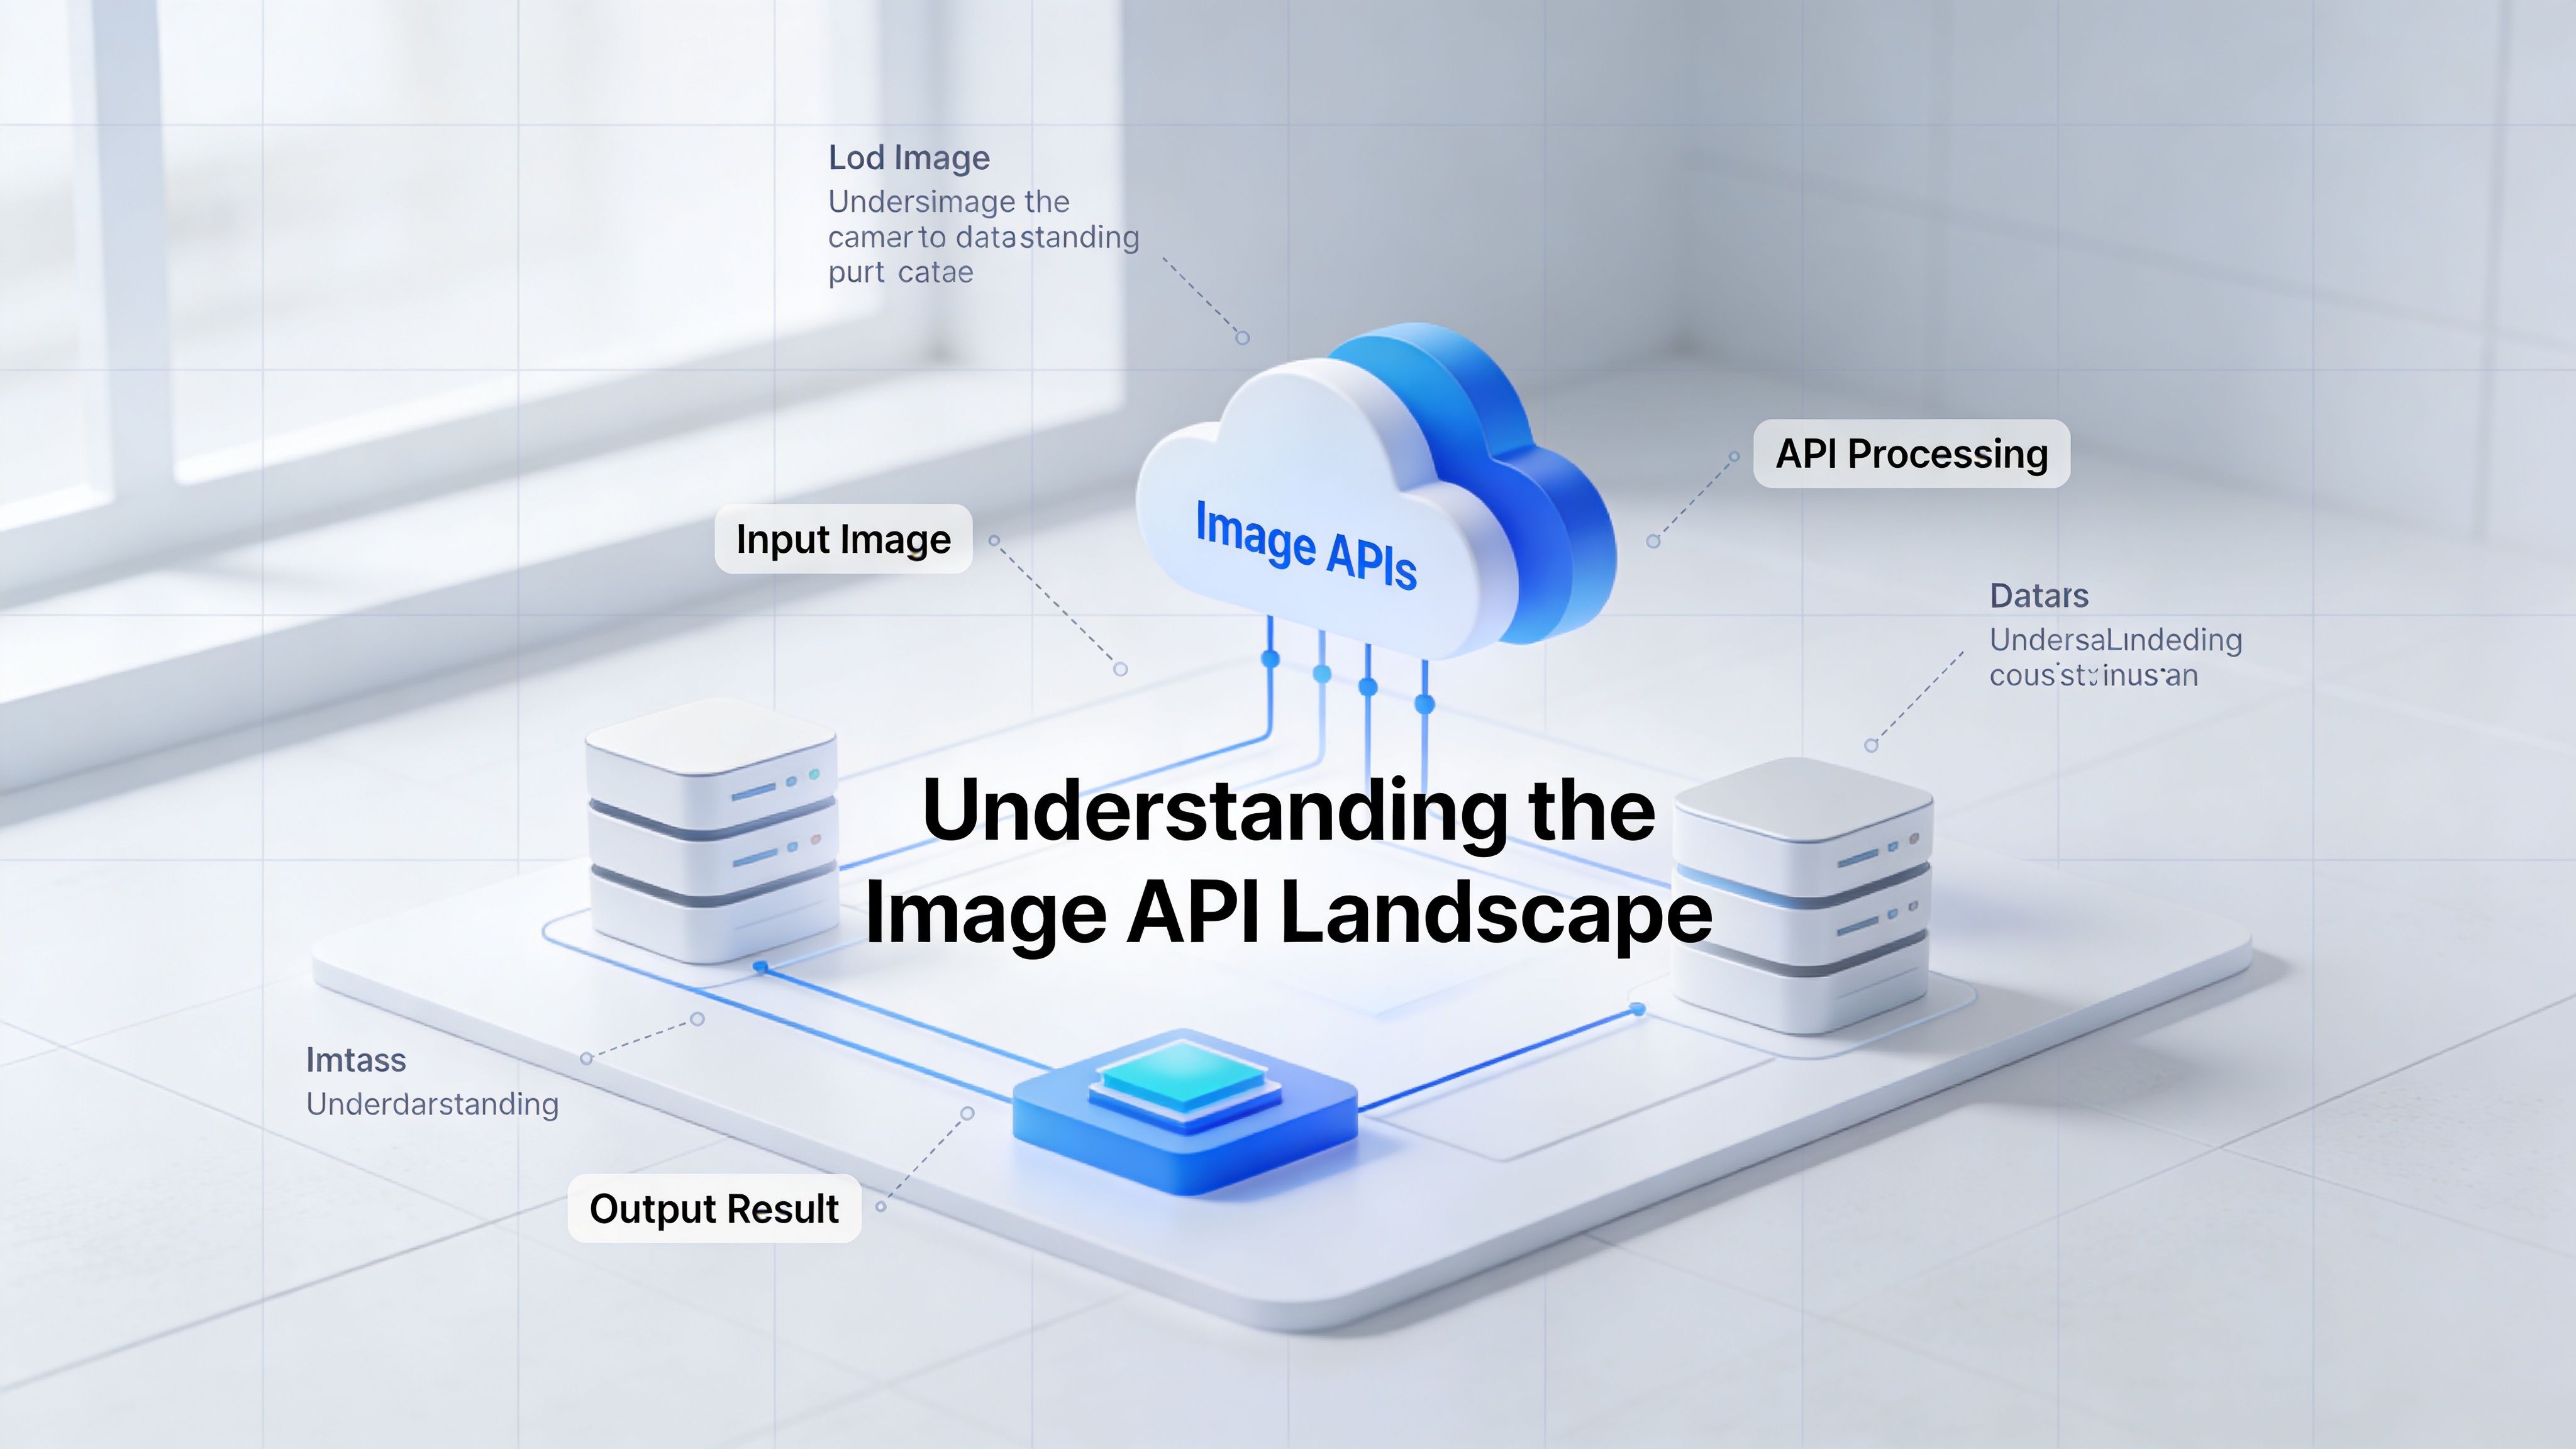
Understanding the Image API Landscape
Not all image APIs do the same job. Beginners often mix together text-to-image tools, editing APIs, and template-driven personalization systems because they all “make images.” The difference matters a lot once the use case moves from experimentation to campaigns.
The two categories beginners should know
The first category is text-to-image generation. You send a prompt like “a modern office desk with warm lighting and a laptop displaying analytics,” and the API creates a new image from that description. This is useful for hero images, ad concepts, blog visuals, social creative exploration, and moodboards.
The second category is template-based personalization. Instead of inventing a new scene each time, the system takes a designed template and swaps in dynamic data such as a first name, company, product, event title, or location. This is better for certificates, newsletters, account-based outreach, influencer campaigns, and recurring branded assets.
A practical comparison
| Use case | Text-to-image API | Template personalization API |
|---|---|---|
| Campaign hero image | Strong fit | Sometimes unnecessary |
| Consistent branded newsletter banners | Harder to control | Strong fit |
| Personalized certificates | Weak fit | Strong fit |
| One-off concept generation | Strong fit | Weak fit |
| High-volume email personalization | Limited on its own | Strong fit |
The market for image generation APIs grew quickly after OpenAI’s DALL-E API release in November 2022, which helped make image generation accessible to beginners. Providers now offer speeds as fast as 0.2 seconds per image according to this Nordic APIs overview of image generation APIs.
That speed is exciting, but speed alone isn’t the decision criterion. For marketing teams, the primary question is whether the output is controllable, repeatable, and easy to connect to campaign data.
What works and what usually doesn’t
What works:
- Use text-to-image for ideation: Great when you need a fresh visual and don’t need perfect consistency.
- Use templates for repeatable campaigns: Better when brand rules, layout control, and dynamic fields matter.
- Mix both carefully: Some teams generate a background with AI, then place personalized layers on top in a controlled template.
What usually doesn’t:
- Using pure prompting for batch personalization: It’s hard to keep typography, brand colors, and layout stable.
- Expecting beginner tutorials to cover real marketing operations: Most stop after the first successful image call.
- Treating every API as interchangeable: They aren’t. The wrong category creates friction fast.
If you’re comparing tools more broadly, this roundup of best AI design tools can help frame the wider ecosystem around creative workflows. For a developer-focused view of where image APIs fit in campaign systems, OKZest has a useful post on image APIs for developers.
The right API isn’t the one that makes the fanciest image. It’s the one that fits the production job you actually have.
Your First API Call From Setup to Success
Most beginner anxiety disappears after the first successful request. Once you see an API return an image, the process stops feeling mysterious and starts feeling procedural.
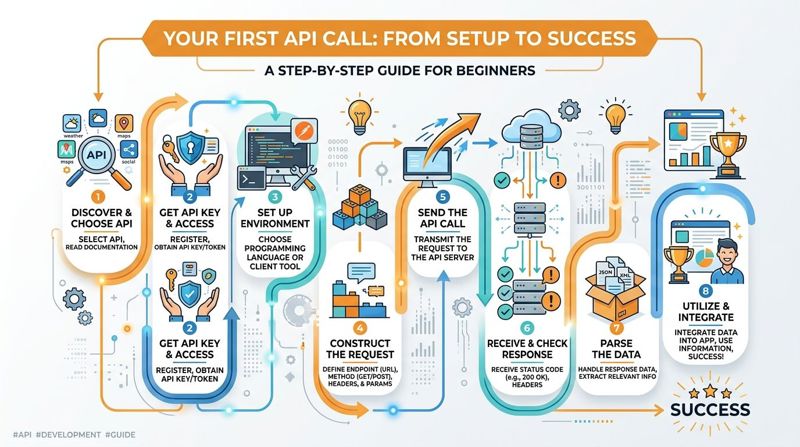
Start with the minimum moving parts
For a beginner using an OpenAI model, the basic pattern is straightforward: initialize a client with an API key, select the generations endpoint, write a prompt, and send a POST request. One documented beginner problem is prompt ambiguity, which accounts for 80% of failures in diffusion models, as summarized in this guide to image generation APIs.
The lesson is simple. Don’t begin with a complicated production use case. Begin with one static image and a clear prompt.
You’ll need:
- An API key: This identifies your account. Keep it secret and store it server-side.
- An endpoint: This is the URL your app sends the request to.
- Headers: Usually these tell the API who you are and that you’re sending JSON.
- A payload: The JSON body with your prompt and image settings.
A beginner-friendly example
Here’s what a simple request structure might look like conceptually:
{
  "model": "gpt-image-2",
  "prompt": "A clean marketing newsletter banner for a spring webinar, modern design, bold typography, bright natural colors",
  "size": "1024x1024",
  "quality": "standard",
  "n": 1
}
That request is intentionally boring. Good. Boring is what you want at the start because it isolates the mechanics.
A corresponding cURL example could look like this:
curl https://api.example.com/v1/images/generations \
  -H "Authorization: Bearer YOUR_API_KEY" \
  -H "Content-Type: application/json" \
  -d '{
    "model": "gpt-image-2",
    "prompt": "A clean marketing newsletter banner for a spring webinar, modern design, bold typography, bright natural colors",
    "size": "1024x1024",
    "quality": "standard",
    "n": 1
  }'
The exact endpoint and model name will vary by provider, but the pattern stays familiar.
How to think about the prompt
Beginners often write prompts the way they talk in Slack. That’s not always enough. Be concrete about:
- Subject: What should appear
- Context: Where it appears
- Style: Photorealistic, minimal, illustrated, editorial
- Composition: Banner, square, close-up, wide frame
- Lighting or mood: Bright, muted, dramatic, soft
A weak prompt:
- “make me a webinar image”
A stronger prompt:
- “A modern webinar promotion graphic for email, laptop on desk, soft daylight, analytics on screen, clean SaaS branding, editorial style”
Small additions like format and style cues usually improve output quality because the model has fewer gaps to fill.
What a successful first result looks like
Your first win doesn’t need to be beautiful. It needs to prove that:
- Your authentication works.
- Your request is correctly formatted.
- The API returns usable output.
- You can save, display, or pass that output downstream.
Some APIs return a URL. Others return a base64-encoded image that your app must decode and save. Both are normal.
If you want a concrete walkthrough of that request-response pattern, this article on making an API call for an image is a helpful reference.
Common beginner mistakes
These are the issues I see most often when junior teams test image APIs for the first time:
- Exposed API keys: Don’t place the key directly in front-end code or public scripts.
- Malformed JSON: One missing comma can trigger a bad request error.
- Vague prompts: The API can only interpret what you give it.
- No error handling: Expect failed requests sometimes. Build around that.
- Skipping output inspection: Don’t assume the image is useful just because the request succeeded.
Practical rule: Get one static image working end to end before you touch personalization, automation, or channel integration.
That order matters. If you can’t generate one reliable image, scaling it will only multiply confusion.
Unlocking Personalization with Dynamic Data
Here, a custom image generation api for beginners becomes a real marketing tool instead of a demo. The jump is conceptually small. Instead of sending fixed text in every request, you start inserting fields from your CRM, signup form, event platform, spreadsheet, or email list.
The gap in beginner education is real. Existing tutorials mostly teach simple text-to-image generation and leave out the operational challenge of dynamic data integration and fallbacks for personalized images, which creates a practical blind spot for marketers and agencies, as discussed in this tutorial review video.
Static versus dynamic requests
A static request might look like this:
{
  "template": "webinar-banner",
  "headline": "Welcome to the Revenue Workshop",
  "subheadline": "Thursday at 2 PM"
}
That works for one campaign asset. It doesn’t work for individualized outreach.
A dynamic version looks more like this:
{
  "template": "webinar-banner",
  "headline": "Welcome {{FirstName}}",
  "subheadline": "{{EventName}} on {{EventDate}}"
}
Now the system can generate one image per recipient using live data. If Sarah is on the list, the output says Sarah. If Daniel is on the list, it says Daniel. Same template, different rendered image.
Why merge tags matter so much
Marketers already understand merge tags in email copy. This is the same idea applied to visuals. Once that clicks, the API feels much less technical.
A significant power is consistency. You don’t redesign the asset every time. You define the visual system once, then let data fill the fields.
That’s why template-driven personalization usually wins for campaign production. It keeps:
- Brand structure stable
- Text placement predictable
- Approval cycles shorter
- Output easier to QA
Fallbacks are not optional
Missing data is normal. Someone doesn’t provide a company name. An event field is blank. A CRM sync fails. If your image workflow depends on every field being present, you’ll break campaigns for avoidable reasons.
Use fallbacks like:
- Name fallback: “Friend” when first name is missing
- Company fallback: Omit the company line or use a generic phrase
- Image fallback: Use a default visual layer when a custom field isn’t available
- Date fallback: Swap in a broader call to action instead of a specific event date
A robust payload often includes fallback thinking directly in the system design, even if the exact syntax varies by tool.
If the personalization data is unreliable, the safest workflow is usually a branded default image plus a few high-confidence dynamic fields.
That principle is useful far beyond email. Product customization tools face the same challenge. If you want an example from another industry, this article on implementing 3D configurators for mattress businesses shows how visual systems become more valuable when they respond to user-specific choices.
One practical path for non-developers and mixed teams
If your team has a designer, a marketer, and limited engineering time, a hybrid setup usually works best. The designer builds the visual template. The marketer maps the fields. A lightweight API call or no-code layer handles rendering.
One option in that category is OKZest, which offers no-code and API-based personalized image generation built around merge-tag style data insertion, image URLs, and fallback values for channels like email and web. That’s useful when the goal isn’t “generate art from a prompt,” but “produce many personalized assets from a controlled design system.”
The key shift is this: you stop thinking in terms of image files and start thinking in terms of image logic.
Integrating Images into Your Marketing Channels
An image generated by an API doesn’t create value until it appears where your audience sees it. In most workflows, the API returns either a hosted image URL or image data that your system turns into a hosted asset.
Expert guidance for production setups includes processing streamed base64 responses and deploying on a serverless function with caching, which is well suited to 99% ESP compatibility with platforms like Klaviyo and Mailchimp for high-volume campaigns, as outlined in Adobe Firefly’s generate image API tutorial.
The simplest email implementation
If you have a hosted image URL, basic embedding is familiar HTML:
<img src="https://images.example.com/rendered/campaign-asset.png" alt="Personalized campaign image" width="600">
In an email platform, the URL often becomes dynamic too. The email system passes recipient-level data, and the image service uses it to render a unique image for each person.
A conceptual example:
<img src="https://images.example.com/render?name={{ first_name }}&company={{ company_name }}" alt="Personalized image" width="600">
The exact merge tag syntax changes by ESP, but the operating idea stays the same.
Where this works beyond email
This isn’t only an email play. Teams also use generated image URLs in:
- Landing pages: Personalize banners for logged-in users or campaign variants.
- Chatbots: Send a branded image with a user’s details after qualification.
- Sales outreach tools: Drop a personalized visual into account-based messaging.
- Social messaging: Use personalized images in DMs or post-campaign follow-up.
That’s why the returned image URL is so important. It becomes a portable asset you can place almost anywhere HTML or media links are supported.
A workflow that stays maintainable
For teams running recurring campaigns, the cleaner setup is usually:
- Generate or render the image on request.
- Cache repeated outputs where possible.
- Store the hosted result behind a stable URL.
- Insert that URL into the campaign template.
This reduces unnecessary reprocessing and makes QA easier because the team can inspect final URLs before a large send.
If you want more implementation detail around this pattern, OKZest has a practical guide on using a personalized image API.
Keep your channel logic simple. Let the image system generate the asset, and let the email or web platform focus on delivery.
Best Practices and Avoiding Common Pitfalls
Beginners don’t usually fail because APIs are too advanced. They fail because they try to solve creative generation, data integration, delivery, QA, and security all at once.
The habits that save time
A few operating habits make a big difference:
- Protect your API key: Store it server-side and rotate it if it’s ever exposed.
- Validate inputs early: Bad names, empty fields, and malformed payloads cause avoidable errors.
- Test with realistic data: A demo using “John Doe” won’t reveal edge cases like long company names or missing dates.
- Read the error response: Most failed requests tell you exactly what went wrong if you slow down and inspect them.
- Start with one channel: Email is usually the cleanest proving ground before expanding to web or messaging.
Trade-offs beginners should accept
You don’t need maximum creativity on day one. You need reliability. A visually consistent image that always renders correctly is often more valuable than a more imaginative one that fails when the data changes.
Cost and speed matter too, but only after the workflow is dependable. If the image is wrong, generating it faster doesn’t help. If the template breaks on missing fields, cheaper output doesn’t save the campaign.
A short troubleshooting checklist
When something fails, check these in order:
Authentication
Is the API key valid and being sent correctly?Payload structure
Is the JSON valid? Are required fields present?Prompt or template logic
Is the request too vague, too complex, or using fields that don’t exist?Data quality
Are merge values arriving in the expected format?Output handling
Are you correctly saving, decoding, caching, or embedding the result?
The winning approach is steady, not flashy. Generate one good image. Add one dynamic field. Introduce one fallback. Embed it in one campaign. Then scale.
If your team wants to move from one-off image generation to repeatable personalization, OKZest is built for that middle ground. It gives marketers and mixed teams a way to turn template-based visuals into personalized image outputs for email, websites, social messaging, certificates, and other campaigns without rebuilding the workflow from scratch each time.