Using templates for event tickets is the fastest way to create professional, branded, and secure passes for any occasion, from a massive conference to an exclusive webinar. These templates give you a ready-made framework, so all you have to do is plug in your event details and branding.
Suddenly, a generic entry pass becomes a powerful marketing tool that makes a killer first impression.
Why Personalized Tickets Outperform Generic Ones
Think about it: an event ticket is often the very first tangible thing an attendee gets from your brand. A plain, forgettable ticket sets the expectation for a standard, run-of-the-mill experience. But a visually striking, personalized ticket? That immediately signals that something special is about to happen.
It’s a small detail that’s so often overlooked, yet it completely shapes perception from the moment of purchase. It's the difference between getting a plain white envelope in the mail and a custom-designed invitation—one is just functional, while the other builds real anticipation.
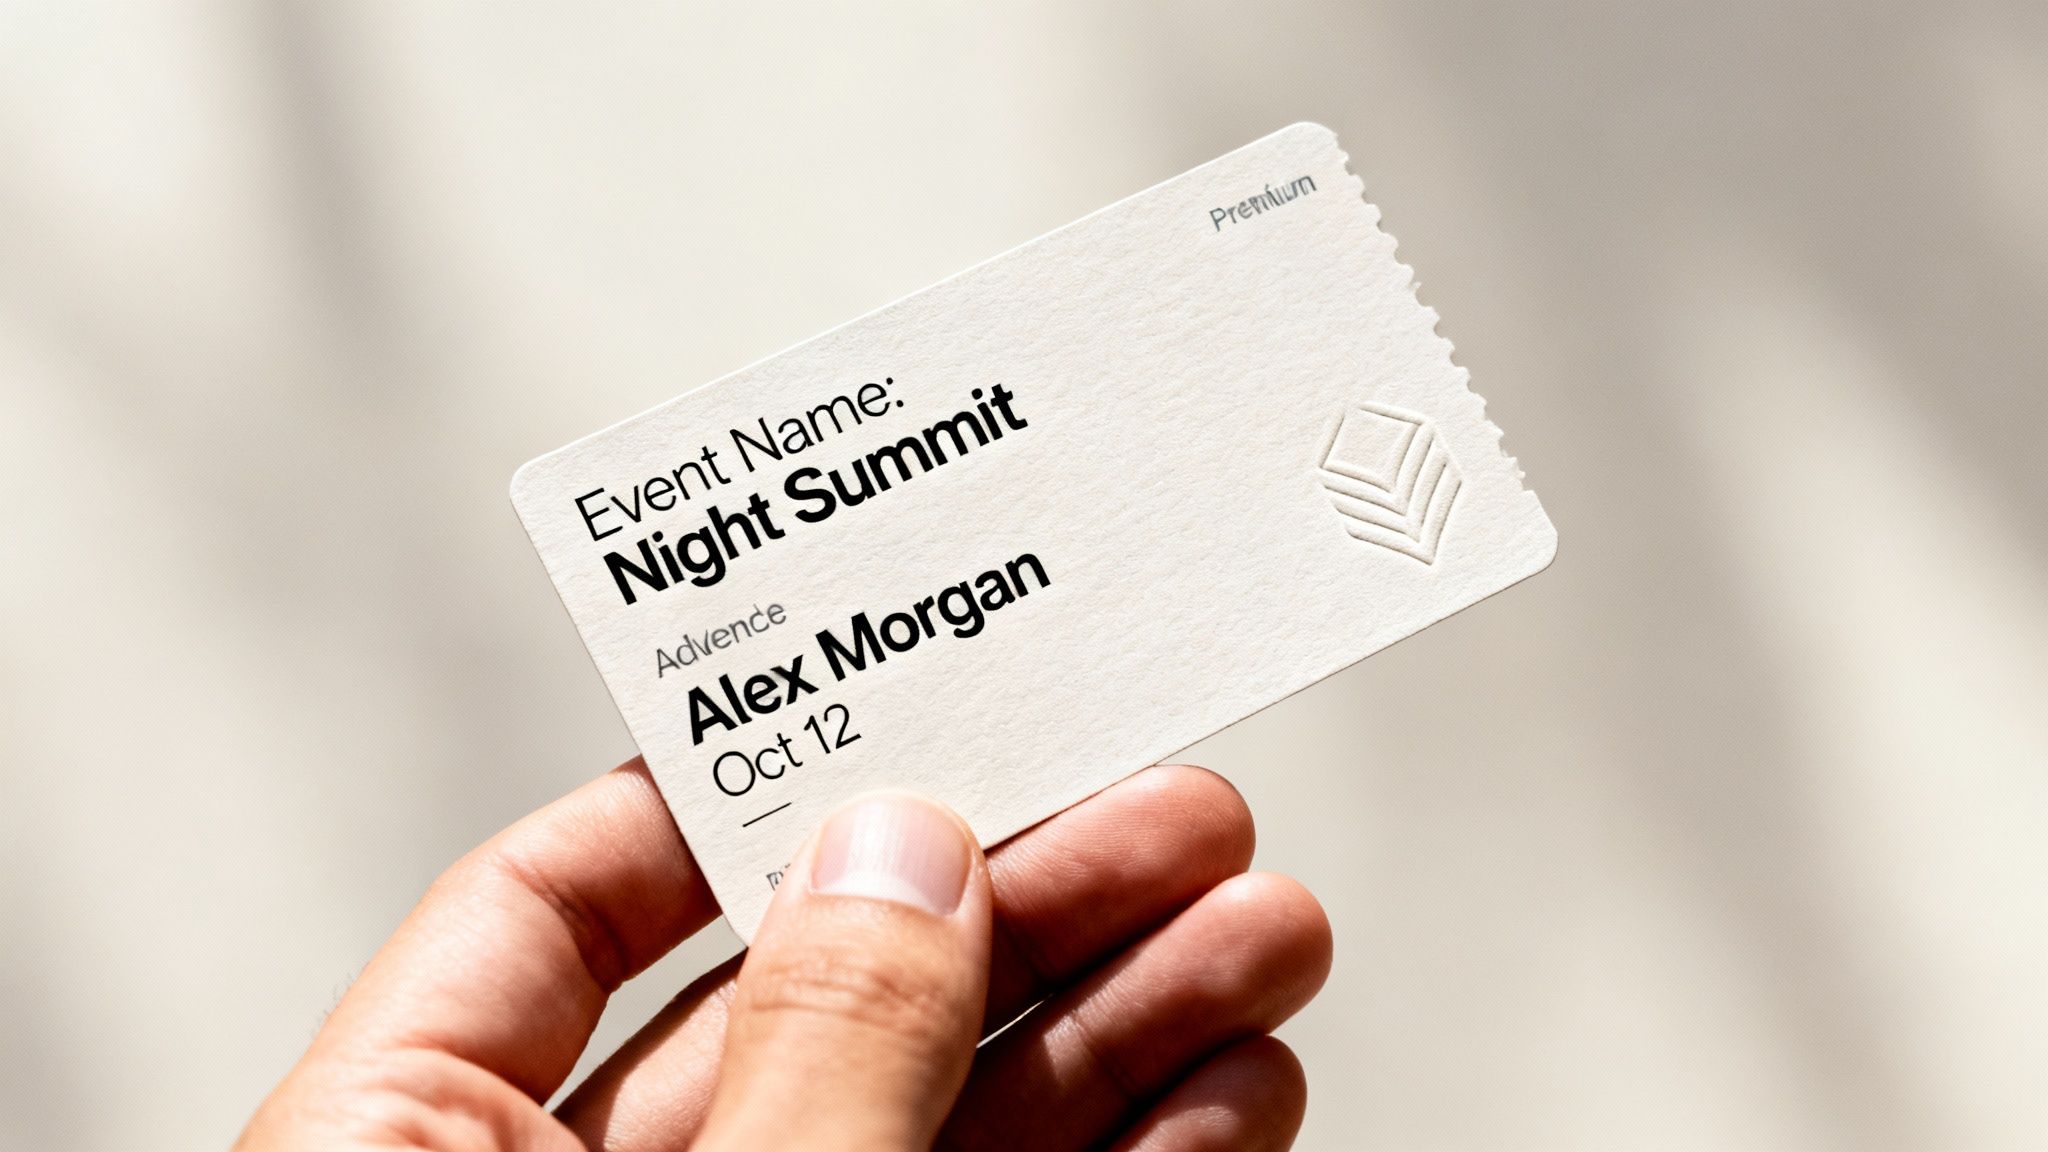
This first point of contact is your chance to get people excited before the event even starts. When someone sees their name or a unique detail on a beautifully designed ticket, it creates an instant feeling of recognition. They feel like a valued guest, not just another number in the crowd.
The Psychology of Personal Connection
Let's be honest, everyone likes to feel seen and acknowledged. A ticket addressed to "Valued Attendee" is cold and impersonal. One that says "Welcome, Jessica!" feels exclusive and intentional. That simple switch elevates the ticket from a proof of purchase to a personal welcome mat.
This early connection encourages all the right behaviors before your event kicks off. An attendee who feels personally welcomed is way more likely to:
- Share their excitement: A cool, personalized ticket is prime material for a social media post, generating organic buzz and free marketing.
- Feel confident in their purchase: Professional design reinforces the quality of your event and nips any potential buyer's remorse in the bud.
- Engage with your content: That initial positive vibe makes them more receptive to your follow-up emails and announcements.
A ticket is more than an access pass; it's the first chapter of the event story. Personalization makes sure that story starts with the attendee as the main character, getting them instantly invested in what's to come.
Transforming Tickets into Marketing Assets
Ultimately, when you start viewing templates for event tickets as strategic marketing assets, it’s a total game-changer. Instead of being a logistical chore you tick off a list, the ticket becomes a core piece of your promotional strategy. It’s a tiny billboard that carries your brand right into the hands—or digital wallets—of your audience.
This isn't just for big-budget festivals, either. Whether you're organizing a corporate summit, a non-profit fundraiser, or a small online workshop, a personalized ticket helps you stand out. It screams professionalism and shows you care about the attendee experience—two things that are crucial for building a loyal community and making sure people are genuinely excited to show up.
Designing Your Core Event Ticket Template
A great event ticket isn't a one-off design you whip up before every event. It's a smart, reusable asset. Building a core template is all about creating a solid foundation you can adapt for anything, which saves you a ton of time while keeping your brand looking sharp and consistent. It’s the difference between scrambling for every new event and having a system that's always ready to go.
Think of it as your master key—a single, well-thought-out design that can unlock countless unique, personalized tickets down the road. The goal is to create a blueprint that perfectly balances your brand's look and feel with the critical info every attendee needs.
This starts by splitting your design into two camps: static and dynamic elements. The static stuff, like your logo and brand colors, will pretty much always stay the same. The dynamic parts—the event name, attendee details, dates—are what change every time. Your template has to handle both without breaking a sweat.
Establishing Your Visual Hierarchy
Before you start dragging and dropping logos, take a step back and think about how someone actually reads the ticket. A good visual hierarchy guides the eye to the most important information first. A cluttered, confusing ticket just creates friction and makes a bad first impression.
The most critical details need to be unmissable. Ask yourself: what does an attendee absolutely need to know in a three-second glance?
- Event Title: This should be the biggest, boldest text on the ticket. No ambiguity.
- Date and Time: Keep these together. Use a clean, super-legible font.
- Venue or Location: The full address is a must. You can add a helpful pointer like "Main Auditorium" if needed.
These three things are the heart of your ticket. Everything else is secondary and should look that way, maybe by using smaller fonts, lighter colors, or different font weights. If you want to dive deeper into getting the visual flow just right, check out our detailed guide to effective event ticket layout.
Integrating Brand Identity
Your brand is what makes your event yours. Your ticket template needs to scream your brand's name from the moment someone lays eyes on it. This goes way beyond just slapping a logo on a generic design; it's about weaving your brand’s personality right into the ticket's DNA.
Be consistent with how you apply your brand elements across all templates for event tickets:
- Logo Placement: Pick a spot—usually the top-left or top-center—and stick with it. It should be one of the first things people see.
- Color Palette: Use your main brand colors for the important stuff like headlines or borders. Your secondary colors are perfect for less critical info, creating nice contrast and depth.
- Typography: Use your brand fonts. A common trick is to use one font for headings and another for the body text to keep things readable and on-brand.
A well-branded ticket is more than just an entry pass. It reinforces who you are and builds trust, signaling to your attendees that this event is professional, organized, and worth their time.
And don't forget the physical experience. For in-person events, that ticket is probably going to live in a lanyard. Thinking ahead about how the design looks inside a perfect lanyards card holder can save you from a layout headache when it's time to print.
Designing with Placeholders for Dynamic Data
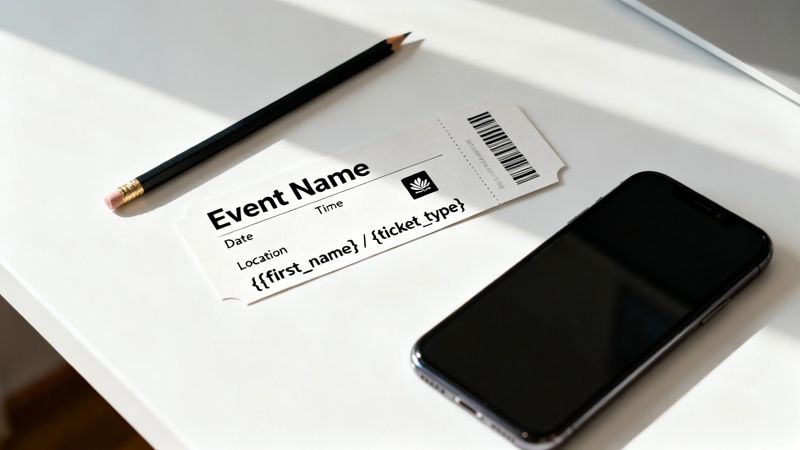
Okay, this is where the magic happens for creating a template that can scale. Instead of designing a ticket for "Jessica's VIP Pass," you design it with placeholders like {{first_name}} and {{ticket_type}}. These placeholders, also known as merge tags, are the secret sauce for generating thousands of unique tickets from one master design.
Your core template needs placeholders for any piece of information that will change from one person or event to the next.
| Placeholder Example | What It Represents | Use Case Scenario |
|---|---|---|
{{event_name}} |
The official title of the event | "Annual Marketing Summit 2024" vs. "Q4 Mixer" |
{{attendee_name}} |
The full name of the ticket holder | "Jessica Chen" instead of a generic guest |
{{qr_code}} |
A unique, scannable QR code | Secure and fast check-in for each individual |
{{seat_assignment}} |
Specific seating details | "Section A, Row 12, Seat 4" for a concert |
{{ticket_id}} |
A unique identification number | Helps with customer support and order tracking |
When you build your layout around these placeholders, you're creating a flexible, powerful system. Come event day, your software will automatically pull the right data from your spreadsheet or CRM, slot it into the template, and churn out a perfectly personalized ticket for every single person on your list. That's how you do personalization at scale, without all the tedious manual work.
Using Dynamic Data to Personalize Tickets at Scale
Once you've nailed down a solid template, this is where the fun really starts. Now, you'll connect your beautiful design to actual attendee information, turning one static image into thousands of unique, personalized tickets. The whole process hinges on dynamic data and merge tags, which automate what would otherwise be an impossibly tedious manual job.
Think of it like a mail merge, but for images. Your template is the letter, and your data source—anything from a simple spreadsheet to a sophisticated CRM—provides the names, ticket types, and other unique details for each person. The system then automatically fuses the two together, generating a custom ticket for every single attendee.
This isn't just about saving time; it's a completely different way for event organizers to engage with their audience. The global events ticket market was valued at a massive USD 30 billion in 2023 and is on track to double by 2030. That growth is being fueled by clever ticketing solutions that improve everything from access control to marketing. Automating personalized ticket images taps directly into this trend, transforming a simple entry pass into a powerful tool for connection and data analytics.
The Power of Merge Tags Explained
Merge tags (you might also hear them called placeholders or variables) are the little snippets of code that tell your template where to slot in specific pieces of information. They usually look something like {{first_name}} or {{ticket_type}}. When you generate the tickets, the system finds these tags and replaces them with the right data from your list.
This concept is the heart of what’s known as variable data printing, just applied to digital images. By setting up your templates for event tickets with these placeholders, you unlock the ability to personalize on an incredible scale. You can dive deeper into this powerful technology by checking out our guide on what variable data printing is and how it works.
Let's walk through a real-world scenario. A marketing agency is putting on an exclusive launch party for a client. They have a spreadsheet with guest names, their company, and whether they have a VIP or General Admission ticket.
Their template would include placeholders like:
{{guest_name}}{{company_name}}{{pass_type}}
When they kick off the generation process, the system creates a unique ticket for each row in their spreadsheet. "Jane Doe" from "Innovate Corp" gets a ticket that says "Jane Doe" and "VIP Pass," while "John Smith" from "Tech Solutions" gets one with his name and "General Admission." This all happens in minutes, not days.
Connecting Your Data Source
The real beauty of this kind of system is its flexibility. You don't need a complex, custom-built database to get started. Most platforms can plug right into the tools you’re probably already using every day.
Common data sources include:
- Spreadsheets (CSV): This is the most straightforward route. Just export your attendee list from virtually any platform into a CSV file and upload it.
- CRM Systems: Direct integrations with CRMs like HubSpot can pull attendee data automatically the moment they register or buy a ticket.
- Email Service Providers (ESPs): Your email list in platforms like Mailchimp or Klaviyo can act as the data source, letting you embed personalized ticket images directly into your email campaigns.
- APIs: For more advanced workflows, an API gives you the power to pull real-time data from any source you can imagine, like a custom registration platform or an internal company database.
This no-code approach makes powerful personalization accessible to everyone, from a solo entrepreneur hosting a small workshop to a large agency managing a multi-day conference.
The goal is to create a seamless flow from data to design. By connecting your template directly to your attendee list, you eliminate human error and free up your team to focus on creating an amazing event experience.
Don't Forget Fallback Text
So, what happens when your data isn’t perfect? Maybe a guest signed up without giving their full name, or a field in your spreadsheet is just empty. Without a backup plan, your beautifully designed ticket could end up with an ugly blank space, looking unprofessional and broken.
This is exactly where fallback text comes in.
Fallback text is simply a default value you set for each merge tag. If the data for a specific field is missing, the system automatically inserts your fallback text instead. It’s a simple but critical safety net.
For example, for the {{first_name}} merge tag, you could set the fallback to "Valued Attendee." Now, if a name is missing from your list, the ticket won't have an awkward blank spot. Instead, it will gracefully read, "Welcome, Valued Attendee." This small detail is crucial for maintaining a professional look and ensuring a flawless experience for everyone.
Below is a table showing common data sources and how they can be used with merge tags, including practical fallbacks for incomplete data.
Personalization Data Sources and Use Cases
| Data Source | Example Merge Tag | Use Case Example | Fallback Value |
|---|---|---|---|
| CSV Upload | {{first_name}} |
Display the attendee's first name on the ticket. | Valued Guest |
| CRM System | {{company_name}} |
Show the guest's company for a B2B event. | Hide the field |
| ESP Integration | {{membership_level}} |
Print the tier (e.g., Gold, Silver) on the ticket. | Member |
| API Call | {{seat_number}} |
Assign a specific seat for a concert or play. | General Admission |
Setting up fallbacks is a non-negotiable step. It guarantees every single ticket you send out looks complete, polished, and ready to impress your attendees.
Automating Ticket Delivery with Your Marketing Tools
You've designed thousands of gorgeous, personalized tickets. Now what? Getting them into your attendees' hands instantly and reliably is the final—and most critical—step.
Automating the delivery process is what connects all your design work to the real world. It creates a seamless experience where someone signs up and immediately receives their unique ticket. This completely removes manual work, slashes the risk of errors, and adds a professional touch right from the start.
The magic happens when you integrate ticket generation directly with the marketing platforms you already use every day, whether that's an email service provider (ESP), a CRM, or a custom-built registration system. The goal is simple: build a workflow where an action, like a purchase or form submission, automatically triggers the creation of a ticket.
This simple flow is all it takes to turn raw attendee data into a personalized ticket, ready to go.

As you can see, it boils down to three core actions: feeding your data into the system, applying your pre-designed template, and generating a unique ticket for each person.
No-Code Integration with Your Email Service Provider
For most event organizers, email is the main way you talk to attendees. The easiest and most popular way to automate delivery is to embed personalized ticket images right into your email campaigns using merge tags. The best part? This no-code approach works with 99% of ESPs, including platforms like Mailchimp, Klaviyo, and ConvertKit.
The process is surprisingly simple. Instead of attaching a generic PDF, you just insert a special URL (a merge tag) into your email template. When you send the email, that tag tells your ESP to pull in the personalized image generated for that specific subscriber.
For example, your email might say, "Here's your ticket for the big day!" and the image that appears will be custom-made for that recipient, complete with their name, unique QR code, and ticket type.
This method is incredibly effective because it builds on the tools you're already an expert in. You can dig into the specifics in our guide on how to automatically send email with personalized images.
Real-World Email Integration Scenario
Let's imagine a nonprofit is hosting its annual fundraising gala. They use Mailchimp to manage all their donor communications.
- Data Setup: Their donor list in Mailchimp includes each person's name and their donation tier (e.g., "Gold Sponsor," "Patron").
- Template Design: They create a beautiful ticket template in a tool like OKZest, setting up placeholders for
{{full_name}}and{{donation_tier}}. - Integration: They simply copy the unique merge tag URL provided by OKZest and paste it into their Mailchimp email confirmation template.
Now, whenever a donor RSVPs, they instantly get an email with a stunning, personalized ticket that acknowledges their specific contribution. This small touch makes donors feel seen and valued while reinforcing the event's professionalism—all without any manual work from the nonprofit's small team.
Integrating ticket generation with your ESP transforms your email from a simple notification into a dynamic delivery vehicle. It ensures every attendee gets a personalized, professional ticket the moment they sign up, building excitement and trust.
The worldwide online event ticketing market is absolutely booming, projected to jump from USD 55.40 billion in 2022 to USD 89.44 billion by 2030. This growth is all about the shift to digital and mobile-first experiences, where personalization is how you stand out. Event organizers using dynamic templates for event tickets get a huge leg up; personalized visuals can boost click-through rates by up to 20% in email campaigns and DMs. By merging your static designs with live data from a CRM or API, you create tickets that actually drive attendance and engagement. You can find more insights on the global ticketing landscape from Statista's detailed research.
Advanced Automation Using an API
For those who need more firepower or want to integrate ticket generation into a custom platform, an API (Application Programming Interface) gives you unlimited flexibility. An API lets your website, app, or backend system "talk" directly to the ticket generation service.
This is the perfect approach for more complex setups where you need tickets created in real-time.
- E-commerce Stores: A ticket is generated the instant a customer completes a purchase on a platform like Shopify or WooCommerce.
- Custom Registration Forms: When an attendee fills out a form on your website, an API call is made to create their ticket on the spot.
- Mobile Apps: Your event app can generate and display a ticket right inside the app after a user signs up.
While using an API requires a bit of development know-how, it opens the door to creating truly bespoke and deeply integrated ticketing workflows. This level of automation guarantees a smooth, instantaneous process, no matter how complex your registration system is.
Final Checks Before Your Ticket Campaign Goes Live
You’ve designed a slick template, hooked up your data, and have your automated delivery ready to roll. But hold on. Before you smash that "send" button, there's one last, crucial step that separates the pros from the amateurs: a full-on quality check. This isn't just about catching typos; it’s about pressure-testing your entire system to guarantee a smooth, professional experience for every single attendee.
Skipping this part is like building a gorgeous car and never taking it for a test drive. You need to make sure every single piece works together perfectly. This final once-over protects your event's reputation and stops those last-minute headaches that can sour an otherwise perfectly planned campaign.
The Internal Testing Checklist
Before this campaign sees the light of day, you need to run it through an internal test with a small, trusted group. Think of it as a dress rehearsal. Put together a test list with your team's email addresses and run the entire workflow from start to finish. This is your chance to catch any gremlins in a low-stakes environment.
Your internal checklist should cover these absolute must-haves:
- Dynamic Data Check: Go through every merge tag. Does
{{first_name}}actually pull the correct name? Is{{ticket_type}}showing "VIP" for the right people and "General Admission" for others? - Fallback Text Simulation: This one is key. Deliberately leave some fields blank in your test data. Does your fallback text, like "Valued Guest," show up as planned, or are you left with an ugly, unprofessional-looking empty space?
- QR Code and Barcode Scans: Don't just look at them—test them. Print out a few test tickets or just pull them up on your phone. Use a scanner app and confirm the codes are active, scannable, and link to the right information.
- Link Functionality: If your ticket includes any links—to the event schedule, a venue map, or your website—click every single one. Make sure they all work and point to the correct destination.
This internal run-through is your single best defense against the most common mistakes. Catching a broken merge tag with a list of five colleagues is a simple fix. Finding out about it after you've sent it to 5,000 attendees is a full-blown crisis.
Cross-Client and Device Rendering
How your beautiful ticket looks in your design tool can be a world away from how it actually shows up in someone's inbox. Email clients like Gmail, Outlook, and Apple Mail all have their own strange little quirks when it comes to displaying images. What looks perfect in one can be broken or horribly distorted in another.
Sending a test email to your internal list is the only way to be certain your ticket images display correctly across the board. Don't just check on your computer—open the tests on different phones and tablets, too.
Remember, a huge chunk of your audience will open their tickets on a mobile device. You have to ensure the text is readable and the layout stays clean on smaller screens. A pro tip is to optimize your image formats; using a modern format like WebP where it's supported can seriously cut down on load times—a lifesaver for attendees opening emails on a spotty mobile connection.
Beyond the nitty-gritty of design and delivery, the ultimate success of your campaign is tied to knowing how to sell concert tickets and fill your venue. These final checks ensure that when people get their tickets, the professionalism of your communication matches the quality of the event itself. It's this final polish that builds trust and reinforces that your event is organized, high-quality, and an experience they absolutely cannot miss.
Common Questions Answered
Even with the best tools, jumping into personalized ticket creation can bring up a few questions. We get it. Here are some of the most common things event organizers ask us, with straightforward answers to help you get started.
We want to give you quick, practical solutions so you can get back to creating an amazing event experience.
Can I Use These Templates for Both Digital and Physical Events?
Absolutely. One of the best things about designing templates for event tickets this way is their flexibility. The high-resolution images you create are perfect for digital delivery through email, WhatsApp, or even social media DMs—they’ll look sharp on any screen.
And for your in-person events? Those same images can be printed for physical passes, name badges, or classic tickets at the door. Dynamic elements like unique QR codes work perfectly in both formats, so you can count on a smooth check-in whether you're scanning a phone or a printed card.
What Happens If My Data Sheet Is Missing Information?
This is a classic problem, and it's exactly why having a system with fallback options is a game-changer. Inside a platform like OKZest, you can set a default value for any dynamic field in your design.
For instance, if a first_name field is empty in your attendee list, the system can automatically pop in a predefined fallback like "Valued Guest" or "Ticket Holder." It's a simple feature that makes sure every single ticket looks complete and professional, avoiding those awkward blank spots and keeping your event branding consistent.
Think of fallback text as your safety net. It guarantees that even with imperfect data, every ticket you send is polished and professional, reinforcing the high standard of your event.
The online event ticketing market is booming, valued at USD 29.8 billion in 2024 and on track to hit USD 57.6 billion by 2030. Organizers are adopting digital tools to personalize every step of the attendee journey, and fallbacks are key to making that automation reliable. You can confidently generate thousands of unique tickets for anything from a small webinar to a massive conference. Check out more insights on the booming digital ticket market.
How Many Personalized Tickets Can I Realistically Generate?
Honestly, the sky's the limit. Modern image automation platforms are built to scale with you. Plans can handle anything from a few hundred images for a consultant's workshop all the way up to millions per month for agencies managing huge festivals.
The process itself is incredibly efficient. That means generating 10,000 unique tickets takes no more of your time or effort than generating ten.
Do I Need Coding Skills to Integrate These Tickets Into My Emails?
Nope, not for most use cases. You don't need to be a developer. Platforms like OKZest give you a simple merge tag URL that you just copy and paste directly into your email editor, whether that's Mailchimp, Klaviyo, or another provider.
Your email service does all the heavy lifting from there, automatically pulling in the right personalized image for each person on your list. If you're looking to do more complex things like website integrations or building a custom app, an API is available—and that would require a bit of development knowledge.
Ready to create stunning, personalized tickets that sell out every time? With OKZest, you can automate the entire process, from design to delivery, with no-code solutions that fit right into the tools you already use.
Start creating your personalized event tickets today!