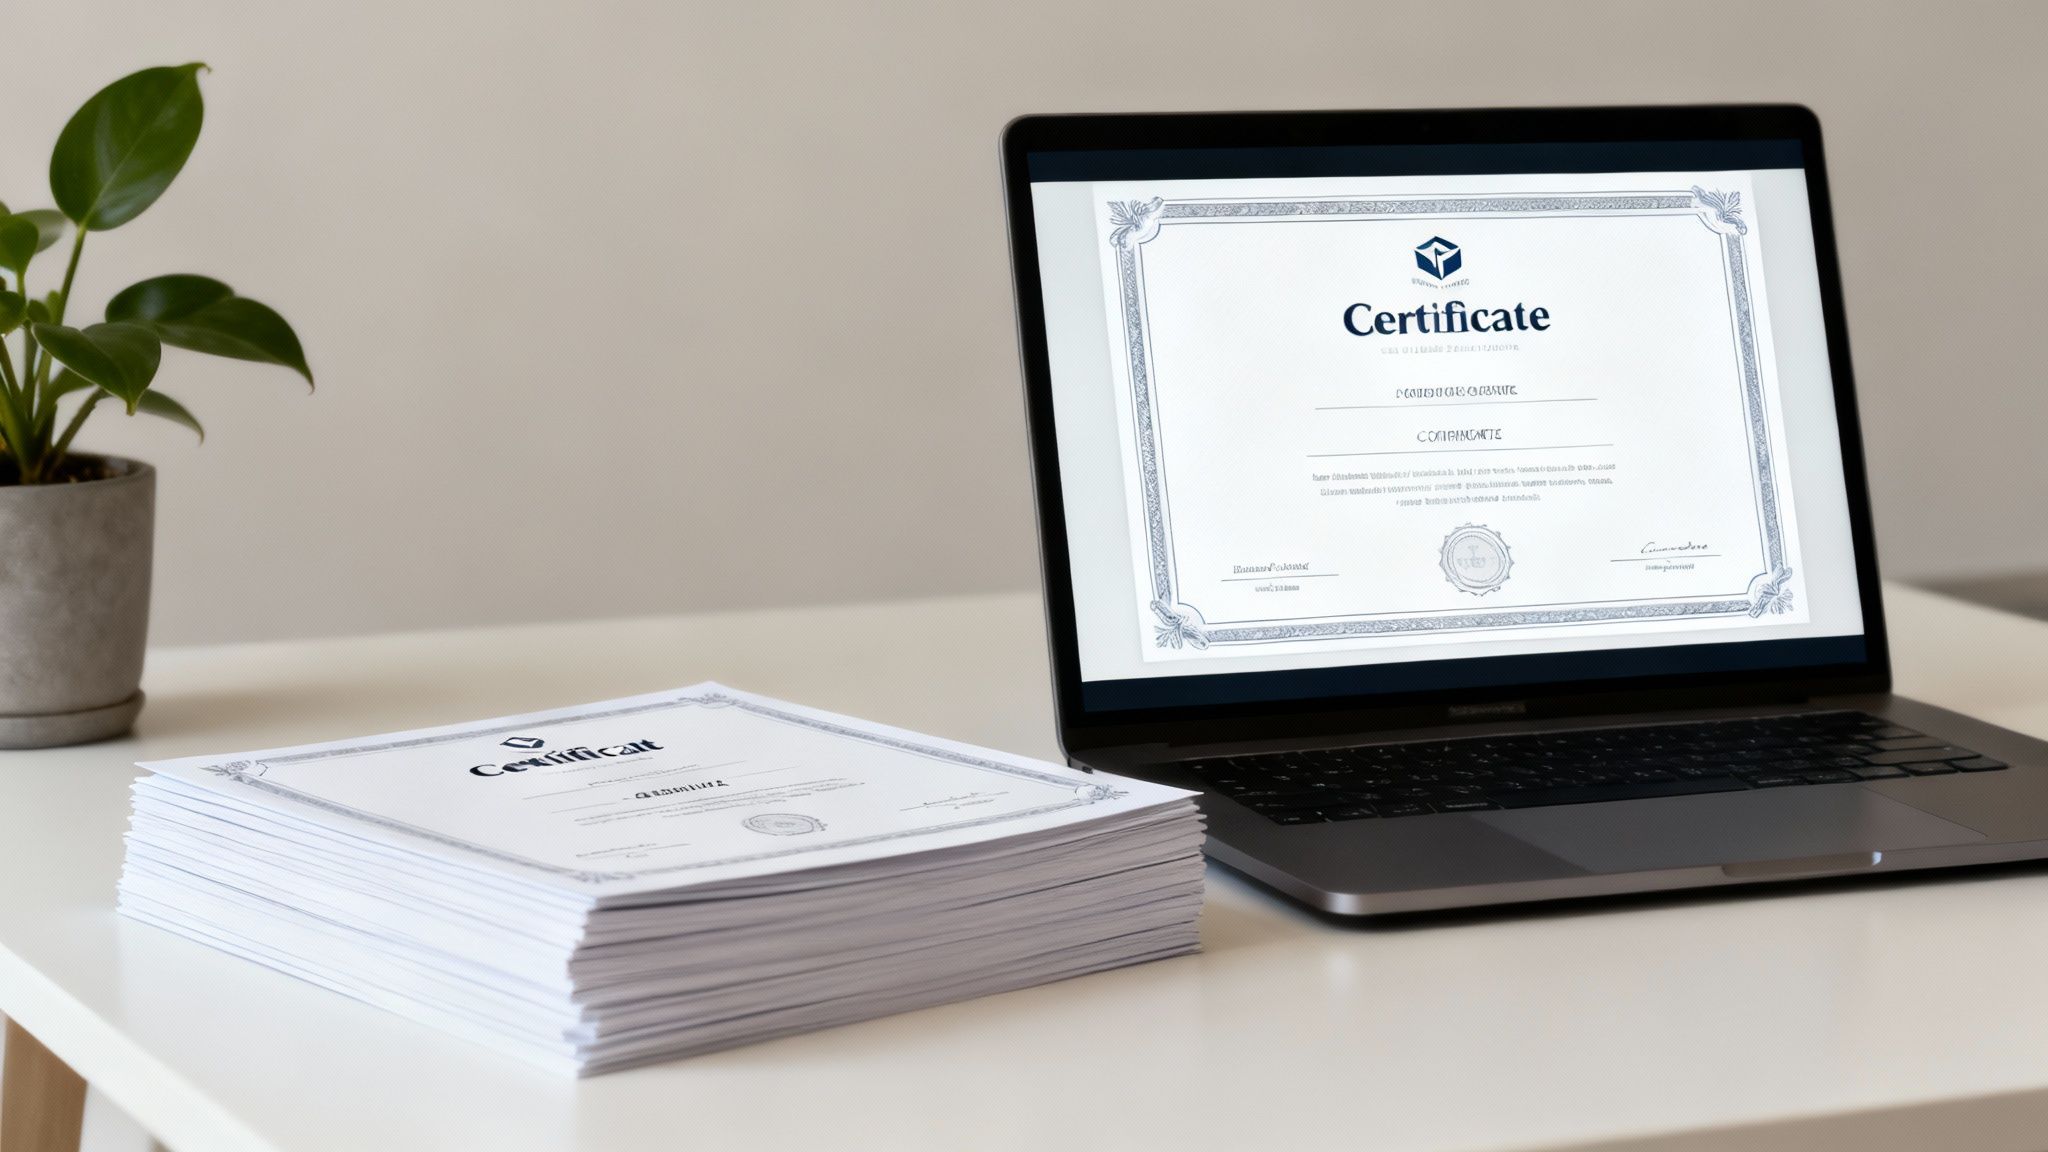
When it comes to custom certificates printing, most of us think of creating branded, personalized awards or documents, often in large batches. The smartest way to handle this is by automating the whole process. By using a single design template and pulling data from a source like a spreadsheet, you can save a ton of time, sidestep frustrating errors, and get professional, consistent results for everyone.
It's Time to Ditch Manual Certificate Creation
We’ve all been there. Manually creating dozens, or even hundreds, of certificates is a familiar headache for just about any organization. It's an incredibly time-consuming task that’s almost guaranteed to have a few human errors sneak in.
Just think about the last time you had to do this. Hours spent copying and pasting names, squinting to double-check dates, and fixing typos, only to spot an embarrassing mistake after everything's been printed.
This old-school approach doesn't just eat up valuable time; it often leads to inconsistent branding and a final product that doesn't look as sharp as it should. Every minute spent on that kind of tedious data entry is a minute you could have put toward work that actually matters.
The Problem with the Old Way
The traditional method of generating awards one by one is loaded with challenges that can completely undermine your efforts. These common frustrations are exactly why so many are finally moving toward automation for their custom certificates printing.
Here are the key issues with doing it all by hand:
- Costly Errors: A single misspelled name or an incorrect date can completely devalue the recognition for the recipient. And what’s the fix? A time-consuming and costly reprint.
- Brand Inconsistency: When different team members get involved, you end up with slightly different templates, fonts, or logos. This small stuff dilutes your brand's professional image over time.
- A Massive Time Sink: The process simply doesn't scale. Making certificates for a workshop of 20 people might be doable. But for a conference of 200? It quickly turns into an administrative nightmare.
The real cost of manual certificate creation isn’t just paper and ink—it's the hours of productivity you lose and the risk of delivering an unprofessional experience that reflects poorly on your organization.
Embracing an Automated Workflow
An automated system, like the one we're about to build with OKZest, is a total game-changer. By connecting a single, well-designed template to a simple spreadsheet of recipient data, you can generate hundreds of unique, error-free certificates in minutes. It’s a modern approach that guarantees every document is perfectly accurate and consistently on-brand.
Instead of losing a weekend to administrative busywork, you can get the entire job done in the time it takes to brew a pot of coffee. This guide will walk you through setting up this exact workflow, helping you move past manual effort and into a world of streamlined, professional results.
If you want to get a head start on the design phase, check out our complete guide on how to make a certificate online.
Build Your Certificate Printing Foundation
Before you can get to the fun part—the automation—you need to lay the groundwork. For custom certificate printing, this foundation comes down to two things: your design template and your recipient data. Getting these two pieces right from the start is what makes the difference between a smooth, automated workflow and a frustrating manual mess.
First up, your design. A professional certificate template does more than just slap a name on a page; it’s a reflection of your brand’s commitment to quality. This is your chance to create a document people will actually be proud to hang on their wall. Think carefully about the layout. You want a clear visual hierarchy that pulls the eye straight to the important stuff, like the recipient's name and what they accomplished.
The fonts you choose and where you place your logo are just as crucial. Pick fonts that are easy to read but still match your brand's personality. Your logo should be prominent without making the whole design feel cluttered. The goal here is a clean, professional, and reusable template that becomes the visual cornerstone for every single certificate you send out.
Preparing Your Recipient Data
Once you’ve got the design locked in, it's time to get your recipient information in order. The real magic of automation is that it pulls everything directly from a simple spreadsheet, which means no more tedious manual entry. You can use a CSV file, a Google Sheet, or an Excel document—whatever works for you.
The key is to structure your sheet with clear, logical columns. Each column header will map to a piece of information you want to personalize on the certificate.
FullName: For the recipient's full name.CourseName: To specify the training or workshop they completed.CompletionDate: For the date the certificate was earned.InstructorName: If you want to include the trainer's name.
This clean data structure is the engine that drives your automation. As you're setting up your custom certificate printing foundation, it's also worth thinking about the final product. Understanding the pros and cons of different digital vs. offset printing methods is a key decision that will impact the quality and feel of the final certificate.
Getting this foundation right is non-negotiable. A well-designed template and a meticulously organized data sheet are what enable a flawless, automated workflow that produces perfect certificates every single time.
This organized approach is what makes custom printing so powerful. The market for it, which includes custom certificates, was valued at a whopping USD 31.48 billion in 2023 and is only expected to grow. This boom is fueled by the demand for unique, high-quality printed materials that help organizations stand out. By nailing your template and data, you're tapping right into this powerful trend.
Alright, with your design locked in, it’s time for the magic to happen. This is where you connect your list of recipients directly to your certificate template inside OKZest. We're essentially building a bridge between your data and your design, which cuts out all the mind-numbing manual entry and makes sure every single certificate is personalized perfectly.
Think of it this way: you just wrapped up a fantastic workshop for 150 people. Instead of the old, soul-crushing method of typing out each name, you're going to map your spreadsheet columns to the dynamic fields in your template. You set it up once, and you're done. No more hours wasted, and no more cringey typos on someone's name.
The concept is incredibly straightforward. Your design has placeholders, and your data file has the information to fill them. It’s a simple but powerful partnership.
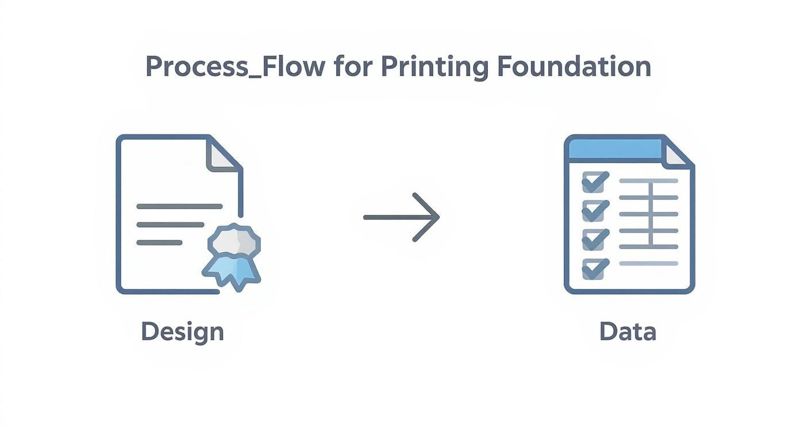
This visual really gets to the heart of it—your beautiful template and your clean data are the two key ingredients for a smooth custom certificates printing workflow.
The Art of Data Mapping
So what is data mapping? It’s simply the process of telling OKZest which column in your spreadsheet goes where on your certificate.
Going back to our workshop example, you’d connect the 'Participant Name' column from your spreadsheet to the main name field on the certificate. Then you’d do the same for the 'Completion Date' and 'Workshop Title'. It’s that easy.
This simple connection is what unlocks personalization at a massive scale. With just a few clicks, the system will instantly generate all 150 unique certificates. Each one will be flawlessly populated with the right details for every attendee.
To give you a clearer picture, here’s a breakdown of how you might map your data.
Data Mapping For Certificate Automation
This table shows exactly how you can match the column headers in your spreadsheet to the placeholder fields in your OKZest template.
| Spreadsheet Column Header | OKZest Template Field (Placeholder) | Example Data | Purpose |
|---|---|---|---|
FullName |
{recipient.name} |
"Alex Rivera" | Personalizes the main recipient name on the award. |
WorkshopTitle |
{course.title} |
"Advanced SEO" | Specifies the event or course being recognized. |
CompletionDate |
{event.date} |
"October 28, 2024" | Displays the official date the achievement was earned. |
Instructor |
{instructor.name} |
"Dr. Evelyn Reed" | Adds credibility by showing the facilitator's name. |
Following this kind of structured approach is the key to ensuring absolute consistency and accuracy across your entire print run.
Unlocking Advanced Automation
Once you get the hang of basic data mapping, you can start exploring some seriously powerful workflows. You could use conditional logic to show different graphics based on a participant's score, for example. Or you could integrate directly with your CRM or HR system for a completely hands-off process—a must-have for larger organizations that generate thousands of documents on a regular basis.
The real power here isn't just saving time. It's about creating a scalable, error-proof process that boosts the professionalism of your entire program and makes every single recipient feel uniquely recognized.
For developers and marketing teams wanting to push this even further, a direct API connection can be a game-changer. If you want to dive into the technical side of things, you can learn more about connecting your applications in our custom certificates printing API integration tutorial. By forging this link between your design and your data, you turn a tedious manual chore into a true automated asset.
Elevate Your Certificates with Premium Finishes
Now that your automation is humming along, we can shift from pure efficiency to the recipient's experience. A certificate isn't just a record of completion; it’s a physical symbol of a real accomplishment. The weight, texture, and visual details of that document say a lot about how much you value what they’ve achieved.
Upgrading your custom certificates printing with premium finishes is how you turn a simple piece of paper into something worth keeping. These details don't just look good—they make a lasting impression and show the recipient their hard work is genuinely celebrated.
Choosing the Right Paper Stock
The foundation of any quality certificate is the paper it’s printed on. This single choice can completely change the look and feel, adding a sense of prestige. We're moving way beyond standard office paper here.
Here are a few popular options I've seen work well:
- Classic Matte: This gives you a smooth, non-glare surface that’s all about readability and a clean, professional look. It's a solid, versatile choice for corporate training or academic awards.
- Textured Linen: With its subtle woven texture, linen paper just feels sophisticated. It has a substantial feel in hand and is perfect for more formal awards or special recognitions.
- Glossy Stock: A glossy finish makes colors pop. It’s a great option if your certificates feature bold graphics or colorful logos that you want to catch the eye.
The paper's weight, measured in GSM (grams per square meter), is also a big deal. Aim for a heavier stock, somewhere around 250-300 GSM. It feels more durable and important, and it won't bend or crease easily.
Adding Sophisticated Finishing Touches
Once you've picked the right paper, special finishing techniques can add layers of detail that really make your certificates stand out. These are the tactile and visual enhancements that separate a standard document from a prestigious award. You'll need a professional printer for these, but the impact is undeniable.
Consider adding one of these popular finishes to your design:
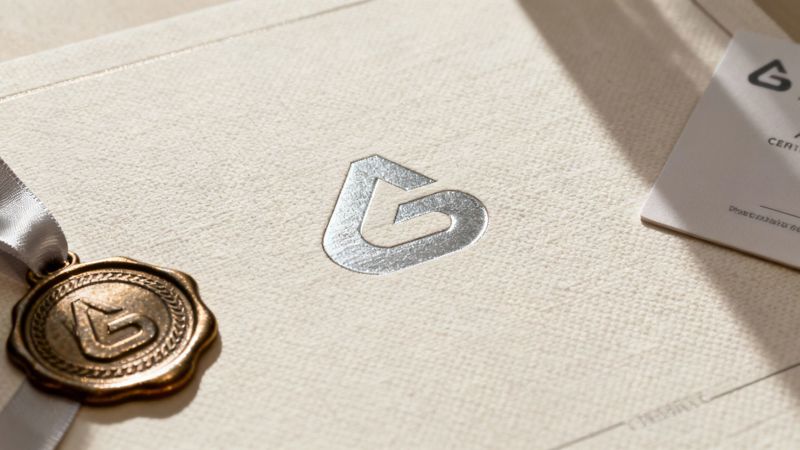
- Foil Stamping: This is where a thin layer of metallic foil—often gold, silver, or bronze—is applied to parts of the design, like a logo or seal. It creates that brilliant, reflective effect that just screams importance and luxury.
- Embossing & Debossing: Embossing raises elements of the design up from the paper, while debossing imprints them into it. Both create a three-dimensional texture that people can see and feel, which is perfect for official seals or crests.
- Spot UV Coating: This technique applies a high-gloss, clear coating to specific parts of the certificate, like a name or logo. The contrast between that glossy element and the matte paper creates a subtle, elegant effect that catches the light beautifully.
This trend toward high-quality finishes is part of a much larger movement. The commercial printing market is projected to grow to USD 842.39 billion by 2034 as businesses use sophisticated printing to create tactile experiences that boost the value of their materials.
And don't forget the final presentation. You can enhance the certificate itself with accessories like custom diploma covers and frames. These thoughtful additions provide both protection and a professional way to display the award with pride.
You’ve created a set of beautiful, personalized certificates. That’s a huge win, but the job isn't done until they're actually in the hands of your recipients.
Smart distribution is just as crucial as the design itself. How you deliver your certificates completely depends on your needs—are you hosting an in-person event, or are you connecting with a global audience online?
In-House Printing: The Direct Approach
The most straightforward method is to prepare a single, multi-page PDF for printing right in your office. This is perfect for award ceremonies, workshops, or any classroom setting where you can hand out the certificates personally.
With OKZest, you can consolidate all your personalized documents into one file. This makes managing a large batch print job incredibly simple, saving you from juggling hundreds of individual files.
Digital Delivery for a Modern Audience
In a world where remote work and online learning are the norm, physical delivery isn't always practical. Emailing certificates directly is often the fastest and most cost-effective way to go.
This approach is ideal for online courses, virtual conferences, or any scenario where your recipients are spread out across different locations. You can set up a workflow where each personalized certificate is automatically attached to an email and sent straight to the recipient. It provides instant gratification and completely cuts out shipping costs and potential delays.
If you want to build this kind of automated workflow, our guide on how to automatically send email notifications will walk you through the entire process.
The key is to match your distribution strategy to your audience and event type. A hands-on, in-person award ceremony calls for a different approach than a global webinar with thousands of attendees.
The Hands-Off Approach with Print-on-Demand
Looking for a completely automated, full-service solution? Integrating with a print-on-demand (POD) service is an excellent choice. It's the ultimate "set it and forget it" method for custom certificates printing.
Here’s a quick look at how it works:
- Automation Trigger: Once your certificates are generated in OKZest, the data is automatically sent to a third-party printing partner.
- Printing and Packaging: The service professionally prints each certificate, often on the premium paper and with the specific finishes you've chosen.
- Direct Mailing: They then package and mail the certificate directly to each recipient on your list, handling all the logistics for you.
This method frees you from the hassle of managing inventory, postage, and fulfillment, making it a fantastic, scalable solution for any business. It also taps into the growing demand for customized goods.
The global custom printed products market is projected to hit USD 12.02 billion by 2032, largely driven by e-commerce platforms that make these services more accessible than ever. You can read more about these market trends for custom printed products on coherentmarketinsights.com.
Choosing the right distribution method ensures your certificates make the impact they deserve.
Common Questions About Automated Certificate Printing
Even with a slick automated workflow, a few questions always seem to surface. When you're aiming for that perfect, professional certificate, it's the little details that can trip you up.
Let's walk through some of the most common questions we hear from people setting up their own custom certificate printing. Getting these right can make a huge difference in how your final product looks and feels.
Handling Special Characters and Different Alphabets
What happens when a name has an accent, an umlaut, or isn't in English? This is a super common question, especially for anyone with an international audience.
The secret lies in your data source—your CSV or Google Sheet—and making sure it’s saved with UTF-8 encoding. Think of UTF-8 as a universal translator for characters. It ensures that names like "Chloé" or "Müller" show up exactly as they should on the final certificate. Most spreadsheet tools today default to UTF-8, but if you're seeing weird symbols instead of names, this is the first place to check.
A quick pro-tip: always do a test run with a few sample names that have special characters. It's the fastest way to confirm everything is mapping correctly before you commit to printing a huge batch.
Choosing the Best File Format for Professional Printers
You’ve designed a stunning certificate, but now your print shop is asking for a specific file format. What should you send them? It almost always boils down to two choices: PDF or a high-resolution PNG.
- PDF (Portable Document Format): This is the undisputed champion for professional printing. A PDF locks in all your fonts, images, and layout details into one neat package. It means what you see on your screen is exactly what the printer sees, killing any chance of weird formatting issues.
- High-Resolution PNG: If your design is simpler or you need a transparent background for some reason, a PNG is a great backup. The key here is to export it at 300 DPI (dots per inch). Anything less, and you risk a blurry, pixelated result.
For pretty much any custom certificate job, a print-ready PDF is your safest and most reliable bet.
What Is the Standard Certificate Size?
While you can technically create a certificate in any size you want, sticking to standard dimensions just makes life easier for everyone, especially when it comes to printing and framing.
The two most common sizes you'll encounter are:
- US Letter (8.5 x 11 inches): The go-to standard in North America. If you're designing for this size, your pixel dimensions should be 2550 x 3300 px at 300 DPI.
- A4 (210 x 297 mm): This is the international standard used almost everywhere else. For a crisp A4 print, you'll want your file to be 2480 x 3508 px.
Choosing one of these standards from the get-go ensures your design fits perfectly on common paper stock and in off-the-shelf frames. Nailing these details guarantees your automated system will pump out flawless, professional-looking certificates every single time.
Ready to stop wasting hours on manual data entry? With OKZest, you can automate the entire certificate workflow, from merging data straight into your design to final delivery.
Start automating your certificate printing with OKZest today!