When you need to get an image from a REST API, your application sends a standard HTTP GET request to a specific endpoint. But instead of the usual JSON data, the server sends back the raw image data along with a critical Content-Type header, like image/jpeg. This header is the secret sauce that tells the browser how to properly render the image.
How APIs Actually Serve Images
Before you dive into the code, it’s worth understanding the mechanics of how a REST API delivers an image. It's a surprisingly simple process, but it relies on very clear communication between the client and the server. When you ask an API for a typical resource, it expects to send back text, usually formatted as JSON. Requesting an image, however, is a different ballgame.
The server has to signal to the browser, "Hey, what's coming next isn't text—it's a picture!" This is where the Content-Type HTTP header is essential.
Content-Type: application/json: This is the default for most APIs. It signals that the body of the response is a JSON object.Content-Type: image/jpegorimage/png: This tells the client to treat the response body as binary image data, which it can then display visually.
Without the right Content-Type, your browser would try to interpret the image's binary data as text, leaving you with a screen full of garbled characters. This one header is the key to a successful image request. It's this kind of elegant simplicity that has kept REST dominant, with projections showing it will power 93% of API architectures in 2025. You can dig into more API trends in the latest State of the API report.
Binary Data vs. Base64 Encoding
Besides the header, an API can send image data in one of two main ways: as raw binary data or as a Base64 encoded string. Making the right choice here can have a real impact on your application's performance.
Let's break down the two main approaches for delivering image data.
Image Delivery Methods: Binary vs. Base64
| Attribute | Binary Streaming | Base64 Encoding |
|---|---|---|
| Data Format | Raw, unprocessed bytes of the image file. | A text string representing the binary data. |
| Data Size | Smaller and more efficient. | Roughly 33% larger than the original binary. |
| Use Case | Best for direct image requests (e.g., <img src="...">). |
Useful for embedding images inside JSON or XML. |
| Performance | Faster transfer and lower bandwidth usage. | Slower due to increased size and encoding overhead. |
| Implementation | Simpler for direct display in browsers. | Requires an extra decoding step on the client-side. |
Binary streaming is the most direct and efficient method. The API sends the raw bytes of the image file straight to the client. This is fantastic for memory, especially with larger images, because the data can be processed in chunks without having to load the entire file into memory at once.
Base64 encoding, on the other hand, converts the binary image data into a plain text string. This is incredibly useful when you need to embed image data directly within a JSON payload, something you just can't do with raw binary. The trade-off? The conversion bloats the data size by about 33%, making it less ideal for performance-sensitive situations. Our guide on creating a REST API for images dives deeper into these scenarios.
This diagram helps visualize the key differences between binary and Base64 delivery.
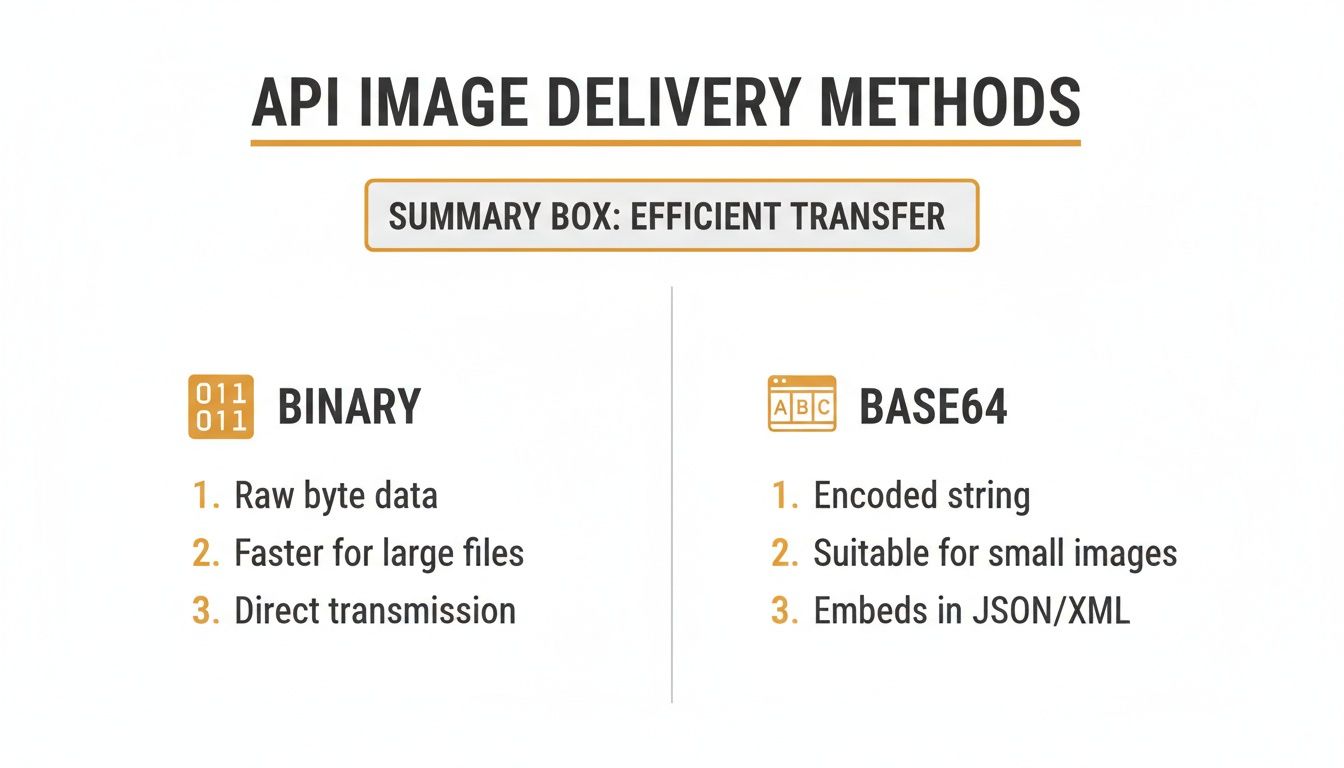
So, what's the verdict? For most direct image fetching, binary streaming is your best bet for performance. But if you need the flexibility to embed images within text-based data structures, Base64 is the way to go.
Alright, we've covered the server-side mechanics. Now for the fun part: actually getting an image from an API and displaying it. This is where you move from theory to practice, making an HTTP GET request and handling the binary data that your API sends back.
We’ll walk through three of the most common ways to do this: a quick terminal test with curl, a browser-based request using JavaScript's Fetch API, and a robust server-side download with Python's requests library.

Quick Testing with a Curl Command
Before you even think about writing application code, it's a good habit to hit the API endpoint directly from your terminal. It's the fastest way to confirm everything is working. The curl command is perfect for this—it shows you the raw response and headers without any fuss.
To grab an image and save it, just use the -o (output) flag to give it a filename.
curl -o downloaded_image.jpg "https://api.example.com/images/123"
When you run that, curl sends a GET request and, if successful, dumps the image data straight into a file named downloaded_image.jpg in your current directory. It's an essential first step for debugging or just verifying an endpoint is live.
Using JavaScript Fetch in the Browser
For any web application, the modern way to handle this is with the Fetch API. The process is almost identical to fetching JSON, with one key difference: how you handle the response body. Instead of calling response.json(), you’ll use response.blob() to process the binary image data.
A blob (Binary Large Object) is just what it sounds like—a chunk of raw, file-like data. Once you have this blob, you can create a temporary local URL for it with URL.createObjectURL(). This URL can be dropped right into the src attribute of an <img> tag, and the browser will render it.
Here’s what that looks like in practice:
const imageUrl = 'https://api.example.com/images/dynamic-user-avatar'; const imageElement = document.getElementById('user-avatar');
fetch(imageUrl) .then(response => { if (!response.ok) { throw new Error('Network response was not ok'); } return response.blob(); // Handle the response as a Blob }) .then(imageBlob => { // Create a temporary local URL for the blob const imageObjectURL = URL.createObjectURL(imageBlob); imageElement.src = imageObjectURL; }) .catch(error => { console.error('There was a problem with the fetch operation:', error); // Always have a fallback! imageElement.src = '/images/default-avatar.png'; });
This method is super efficient. It avoids messing with Base64 encoding and keeps the data handling clean and fast. If you're diving deeper into connecting services, our complete API integration tutorial has more examples like this.
Downloading Images with Python
When your backend needs to pull an image from another API—say, for a script or a microservice—Python's requests library is the go-to. The real trick here is handling large images without accidentally crashing your server by loading the whole file into memory.
By setting
stream=Truein your request, you tell therequestslibrary to download only the response headers first and keep the connection open. The actual image data is then streamed in chunks as you access it, which is a lifesaver for memory management.
You can then iterate over the response and write it to a file piece by piece.
import requests
api_url = "https://api.example.com/images/large-background.png" local_filename = "downloaded_background.png"
try: # The key here is stream=True with requests.get(api_url, stream=True) as r: r.raise_for_status() # This will raise an HTTPError for bad responses (4xx or 5xx) with open(local_filename, 'wb') as f: for chunk in r.iter_content(chunk_size=8192): f.write(chunk) print(f"Image successfully downloaded to ") except requests.exceptions.RequestException as e: print(f"Error downloading the image: ")
This script neatly downloads the image by writing it to the disk in 8KB chunks. It's a robust approach that prevents memory overload, no matter how massive the image file is.
Building an API Endpoint to Serve Images
Alright, you've got the hang of pulling images from an API. Now let's flip the script and build the API that serves them.
Creating your own endpoint to dish out images is a core backend skill. It's the engine behind everything from user avatars on a social platform to product photos in an e-commerce app. The basic idea is simple: read a file from your server's disk and send its raw, binary data back as an HTTP response.
We’ll look at how to build a simple but solid image endpoint using two of the most popular backend frameworks out there: Express.js for the Node.js crowd and Flask for Python fans. The trick isn't just sending the file, but doing it correctly—and securely.

Serving Images with Express.js
Node.js is fantastic for I/O-heavy tasks like reading files, thanks to its non-blocking nature. Express makes the process dead simple, boiling it down to just a few lines of code. Our goal is to create a route—something like /images/:imageName—that grabs the requested file from a specific directory and streams it back to the client.
The single most important piece of this puzzle is setting the Content-Type header correctly. If you forget this, the browser will have no idea it's supposed to render an image and will just show garbled text. While Express is pretty smart about guessing the content type from the file extension, setting it yourself gives you more control.
Here’s a basic Express server that does the job:
const express = require('express'); const path = require('path'); const app = express(); const port = 3000;
// A secure path to the images directory const imagesDirectory = path.join(__dirname, 'public', 'images');
app.get('/images/:imageName', (req, res) => { const = req.params;
// Sanitize the filename to prevent directory traversal const safeImageName = path.basename(imageName); const imagePath = path.join(imagesDirectory, safeImageName);
res.sendFile(imagePath, (err) => { if (err) { // Log the error and send a 404 response console.error(err); res.status(404).send('Image not found'); } }); });
app.listen(port, () => {
console.log(Server listening at http://localhost:${port});
});
Security First: See that
path.basename()call? That's not optional. It’s a critical security measure that strips away any directory path info from the filename. Without it, a malicious user could try to access sensitive server files using a tricky path like../../etc/passwd. Always sanitize user input.
A Python Alternative with Flask
If you're in the Python ecosystem, Flask offers an equally clean way to do the same thing. The logic is identical: create a route that takes a filename, find that file on the server, and send it back with the right headers.
Flask even has a handy send_from_directory function built specifically for this. It handles all the underlying security checks and header settings for you, which makes for some very readable and safe code.
from flask import Flask, send_from_directory import os
app = Flask(name)
Define the absolute path to your images folder
IMAGE_FOLDER = os.path.join(os.getcwd(), 'static', 'images')
@app.route('/images/path:filename') def get_image(filename): try: # send_from_directory handles security and Content-Type return send_from_directory(IMAGE_FOLDER, filename, as_attachment=False) except FileNotFoundError: return "Image not found", 404
if name == 'main': app.run(debug=True)
In both of these examples, the server is locked down to serve files only from a specific directory. This is a fundamental skill, but it’s just one side of the coin. If you're building a complete system, you might also need to know how to upload images using the WordPress REST API. Understanding both sides ensures you can build full-featured apps that handle digital assets from start to finish.
Don't Skip Security and Optimization
Getting an image to show up from an API endpoint is a good first step. But in the real world, you have to think about security and performance. A public image URL is perfectly fine for a blog post, but what about user-specific content or premium assets? This is when you have to move beyond the basics for your REST API get image requests.
If you just leave an image endpoint wide open, you're risking private user data or letting anyone hotlink your assets, which will run up your bandwidth costs. You need a way to control who can access your images and make sure they load fast for the right people, no matter where they are.
Lock Down Your Endpoints with Authentication
Your first line of defense is authentication. You wouldn't leave a data API unprotected, so why treat your image endpoints any differently? This simple step ensures only legitimate, verified users or applications can pull images from your server.
A couple of common ways to handle this are:
- API Keys: This is a straightforward secret token you pass in an HTTP header, like
Authorization: Bearer YOUR_API_KEY. It’s a great fit for server-to-server communication. - JWT (JSON Web Tokens): When a user logs in, you can issue a JWT. That token gets sent with the image request, and your API just needs to validate it before serving the file.
Putting authentication in place turns a public resource into a private one. You get full control over who sees what.
Use Signed URLs for Private Assets
So, what do you do with user-uploaded content, like a profile picture or a private receipt? You definitely can't just stick those in a public folder. A really powerful pattern for this is using signed URLs.
A signed URL is a special, temporary link that grants time-limited access to a private file. You've probably used them without realizing it—services like Amazon S3 and Google Cloud Storage rely on them heavily. The URL itself contains cryptographic info that proves the request is authentic, all without needing a permanent API key. It’s the perfect way to let a user's browser securely download their own private file directly.
The real magic of a signed URL is that it gives temporary, secure access to a private object without ever exposing your secret credentials. The permissions are baked right into the link itself.
This approach is becoming more critical as demand for secure image handling explodes. The global image recognition market, which leans heavily on APIs to get and process images, was valued at USD 45.02 billion in 2022 and is still growing fast. You can learn more about this trend and discover the top image recognition APIs being used across different industries.
Cache Everything for Lightning-Fast Delivery
Last but not least, let's talk about speed. Nobody likes waiting around for images to load. Caching is your best friend for delivering a snappy, responsive experience.
You can tackle caching on two main levels:
- Client-Side Caching: Use the
Cache-ControlHTTP header in your API response. This is a simple instruction that tells the user's browser how long it can hang onto a local copy of the image, which cuts down on pointless repeat requests to your server. - Content Delivery Network (CDN): A CDN is a network of servers spread across the globe that stores copies of your images closer to your users. When someone in another country requests an image, it’s served from a nearby CDN node instead of your origin server. This slashes latency. If you have a global audience, a CDN isn't a "nice-to-have"—it's essential.
Generating Personalized Images with an API
Most of the time, an API request just grabs a static file that's already sitting on a server. But things get really interesting when a REST API can get an image that’s dynamically generated just for you. We're moving beyond fetching a stored file; this is about creating a unique visual on the fly for every single user.
The whole idea is pretty simple. You construct a GET request URL, but you tack on some query parameters. These parameters are basically instructions that tell the API how to customize a base template. You can pass in a user's name, a company logo, or even real-time data to instantly whip up a personalized visual. Services like OKZest make this incredibly easy to pull off.

Embedding Dynamic Images in HTML
The best part of this approach is how straightforward it is. Since the API just returns a standard image, you can pop the dynamic URL right into an HTML <img> tag. No complicated client-side code needed.
Let's say you want to personalize a welcome image in your web app or an email. It’s as simple as this:
That one line of HTML is all it takes. The browser sends the GET request, the API does the heavy lifting to create the custom image, and it renders just like any other picture. It's a perfect solution for creating dynamic social sharing cards, personalized email banners, or even on-the-fly event certificates. You can dig into even more ways to use a dynamic API photo to connect with your audience.
This method completely offloads image processing to the API provider. Your app stays lean, and you don’t have to mess with any backend image libraries or infrastructure. That’s a huge time-saver.
This isn't just a neat trick; it's part of a much bigger trend. For instance, image similarity search APIs that handle GET requests are becoming essential, especially with AI in the mix. Major providers now offer APIs that can find visually similar items, a game-changing feature for e-commerce sites trying to improve user experience. If you’re curious about the creation side, it's worth learning how to make AI-generated images that you can then serve up through your own API.
Common Questions About REST API Image Requests
As you start working with image APIs, you’ll quickly find that the same questions tend to pop up. Developers often run into the same walls when it comes to performance, scaling, and tweaking images on the fly. Let's dig into some of the most common challenges you'll face when you need to rest api get image data.
This isn't just about the basics of fetching an image; we're moving into the practical, real-world problems you need to solve to build something solid.
How Do I Handle API Rate Limits When Fetching Many Images?
It’s a classic scenario: you need to pull down hundreds or thousands of images, so you write a simple loop. A few seconds later, your requests start failing and you're temporarily blocked. Welcome to the world of API rate limits. They’re a necessary evil to stop one user from hogging all the server resources.
The trick is to be a good neighbor. Instead of blasting the API with requests, you need to build a more considerate system.
- Introduce a Pause: Don't just fire off requests as fast as your code can execute. A small, deliberate delay between each API call—say, 100-200 milliseconds—can make all the difference.
- Use Exponential Backoff: If you do get hit with a
429 Too Many Requestserror, don't just retry right away. That’s like hitting redial over and over. Instead, your code should wait, and then wait a bit longer each time it fails. For example, wait 1 second, then 2, then 4, and so on.
This approach not only respects the API's limits but also makes your own application more robust. It'll handle temporary server hiccups or network blips without falling over.
Pro tip: Many APIs send back helpful headers like
X-RateLimit-Remainingin their responses. Pay attention to these. You can use that value to dynamically adjust your request speed, slowing down as you get close to the limit.
What Is the Best Format for Web Performance?
Choosing the right image format is one of the easiest and most impactful optimizations you can make. Sending a huge PNG when a lean WebP would have worked just fine can absolutely kill your site's load time. It’s all about striking the right balance between image quality and file size.
Here’s a quick rundown from my experience:
- JPEG: Your workhorse for photos and other complex images. It compresses beautifully but doesn’t do transparency.
- PNG: The go-to for graphics with sharp lines, text, or when you need a transparent background. The tradeoff is that the file sizes are often larger than JPEGs.
- WebP: This is the modern format from Google, and it's a game-changer. It gives you much smaller file sizes than both JPEG and PNG at similar quality, and it supports transparency. It’s pretty much the best choice for web performance today.
- AVIF: This is the new kid on the block, offering even better compression than WebP. Browser support is getting there, but it's not quite universal yet.
For the best results, serve WebP images to browsers that can handle them, and have a JPEG or PNG ready as a fallback for older browsers.
Can I Request a Resized or Cropped Version?
Yes, and you absolutely should! This is one of the most powerful features of a good image API or CDN. Instead of downloading a massive, high-res image and then trying to resize it in the browser—which is slow and wastes bandwidth—you can ask the server to do the heavy lifting for you.
This is usually done with simple URL parameters. For instance, a request might look something like this:
https://api.example.com/images/123?w=400&h=300&fit=crop
This little snippet tells the server, "Hey, I need image 123, but give it to me as a 400x300 pixel version, and crop it to fit those dimensions."
Offloading this work to the server means less data gets sent over the wire and your user's browser has less work to do. The result? Much, much faster load times.
Ready to create stunning, personalized visuals without the backend hassle? With OKZest, you can generate unique images for every user in your email campaigns and web pages using a simple API. Automate your personalized image creation with OKZest today.