Grabbing an image from a REST API all boils down to a simple HTTP GET request sent to a specific endpoint. From there, the API will respond in one of two main ways. It might give you a URL that points directly to the image file, or it could send back the raw binary data of the image itself, which your application will then need to piece together.
How REST APIs Actually Serve Images
Before we get into the code, it’s worth taking a moment to understand what’s happening behind the scenes. At its core, a RESTful API treats everything as a resource, and an image is no exception. When your app needs an image, it just sends a standard GET request to the URL representing that specific image.
This isn't just some niche process; it's fundamental to how a huge chunk of the modern web works. REST APIs are the backbone for countless image-heavy applications. We're seeing this play out in massive market growth—the image recognition market, for example, hit USD 45.02 billion in 2022 and is expected to grow at 13.4% annually through 2030. This boom is fueled by APIs that make it easy for developers to fetch and work with images. For a deeper dive into how APIs are driving this trend, Daffodil's blog has some great insights.
When the server sends its response, there are two key pieces of information you'll need to pay attention to:
- The
Content-TypeHeader: This header is your guide. It tells your application exactly what kind of data it just received. For an image, you'll see values likeimage/jpeg,image/png, orimage/webp. Reading this header correctly is the first step to handling the incoming data properly. - The Response Body: This is where the good stuff is—the actual image content. The format of this content depends on how the API was designed, which brings us to the two main approaches.
Direct URL vs. Binary Data
So, how does the API actually hand over the image? It really comes down to two methods.
The first, and often the simplest, is when the API returns a JSON object containing a URL. This URL points directly to the image file, which is usually sitting on a CDN for fast delivery. Your application just has to parse the JSON, grab the URL, and you're good to go.
The second method is for the API to return the raw binary data of the image directly in the response body. This is a common approach when you need to do something with the image on your end—like process it, resize it, or store it on your own server—before showing it to the user.
This simple flowchart breaks down the basic request-and-response cycle.
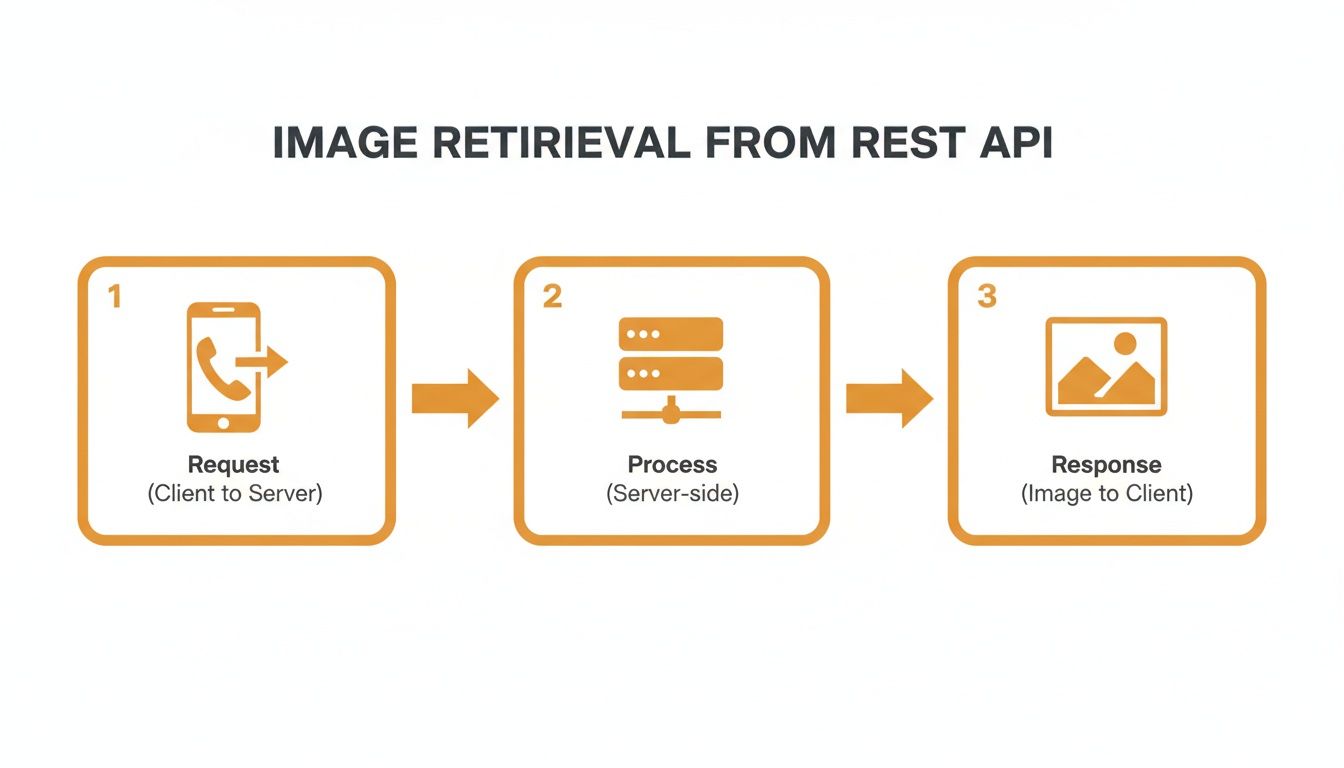
As you can see, it's a straightforward three-step dance: your client makes a request, the server does its thing, and the image data comes back in the response.
Comparing Image Response Types from a REST API
Here’s a quick look at the two primary ways a REST API can deliver an image and when you might choose one over the other.
| Response Type | How It Works | Common Use Case | Pros & Cons |
|---|---|---|---|
| JSON with URL | The API returns a JSON payload containing a string, which is a direct URL to the image file (e.g., on a CDN). | Displaying an image directly in a web browser (<img> tag) or mobile app. |
Pros: Simple to implement, offloads bandwidth to a CDN.Cons: Requires a second request to actually fetch the image. |
| Binary Data | The API returns the raw image data directly in the HTTP response body, with the appropriate Content-Type header. |
Server-side image processing, manipulation, caching, or saving the file to your own storage. | Pros: Only one request needed, gives you direct control over the data.Cons: More complex to handle, uses more server bandwidth. |
Ultimately, the method you'll encounter depends entirely on the API's design. The key is to check the documentation and be prepared to handle whichever format it sends your way.
Practical Code for Fetching Images From an API
Alright, enough theory. Let's get our hands dirty and write some actual code. This is where we turn the concepts of GET requests and binary data into scripts you can actually use in your projects.
I've put together a few rest api get image example snippets for some of the most common backend environments. We'll kick things off with a universal tool, curl, just to see the raw HTTP exchange. From there, we'll dive into Node.js, Python, and PHP, showing you exactly how to request a dynamic image and save it to a file.
A Universal Test with curl
Before you even open your code editor, curl is your best friend for testing any API endpoint. It's a simple command-line tool that lets you make raw HTTP requests and see exactly what the server sends back—headers, body, and all. It’s perfect for a quick sanity check or for debugging when things go wrong.
To grab an image and save it, just use the -o (or --output) flag to name the file.
curl -o downloaded_image.jpg "https://api.okzest.com/v1/images/example-id-123.jpg"
This one command fires off a GET request to the URL and pipes the response body straight into a new file called downloaded_image.jpg. It’s the fastest way to confirm an endpoint is live and delivering the image data you expect.
Node.js Example Using Axios
In the Node.js world, axios is the go-to library for just about any HTTP task. The one crucial detail when you're fetching something that isn't JSON—like an image—is setting the responseType to 'arraybuffer'. This tells axios to treat the response as a chunk of binary data instead of trying to parse it, which would completely corrupt your image.
Here's a solid, reusable function for fetching an image and saving it with Node's built-in fs (File System) module.
const axios = require('axios'); const fs = require('fs'); const path = require('path');
async function fetchImage(imageUrl, outputPath) { try { const response = await axios({ method: 'GET', url: imageUrl, responseType: 'arraybuffer' // This is the magic ingredient for binary data });
// Write the raw binary data to a file
fs.writeFileSync(outputPath, response.data);
console.log('Image successfully downloaded and saved to', outputPath);
} catch (error) { console.error('Error fetching the image:', error.message); } }
// How to use it const imageUrl = 'https://api.okzest.com/v1/images/example-id-456.png'; const outputPath = path.join(__dirname, 'personalized_image.png'); fetchImage(imageUrl, outputPath);
This script is a robust pattern for any server-side image handling you need to do. If you want to see more examples of connecting different services, check out our complete API integration tutorial.
Python Example Using the Requests Library
Python's requests library is legendary for its simplicity, and it makes API calls feel effortless. When you fetch an image, the raw binary content is sitting right there in the response.content attribute.
From there, you just need to open a file in binary write mode ('wb') and dump the contents into it. Using 'wb' is important because it ensures the bytes are written exactly as they were received.
import requests
def download_image(url, file_path): try: response = requests.get(url, stream=True) response.raise_for_status() # This will error out on bad responses (like 404 or 500)
    with open(file_path, 'wb') as file:
        for chunk in response.iter_content(chunk_size=8192):
            file.write(chunk)

    print(f"Image successfully downloaded to {file_path}")
except requests.exceptions.RequestException as e:
    print(f"Error downloading the image: {e}")
How to use it
image_url = "https://api.okzest.com/v1/images/example-id-789.jpg" output_path = "user_certificate.jpg" download_image(image_url, output_path)
Pro Tip: Using
stream=Trueand looping overiter_contentis a fantastic, memory-efficient way to download large files. It processes the image in smaller chunks instead of trying to load the whole thing into memory, which is a lifesaver for performance at scale.
PHP Example Using cURL
For all the PHP developers out there, the built-in cURL extension is a battle-tested workhorse for HTTP requests. The workflow is pretty standard: initialize a cURL session, set your options, run the request, and save the result.
Here's a straightforward rest api get image example using PHP.
The key player here is CURLOPT_FILE. This option tells cURL to stream the response body directly into the file handle you provide, which is a very efficient way to download files without hogging memory.
Not every image API is a free-for-all. The most powerful ones, especially those that create personalized content on the fly, need to be locked down to protect data and track usage.
If you don't get the authentication right, you'll be met with a swift 401 Unauthorized or 403 Forbidden error. It’s a common roadblock, but an easy one to get past once you know the patterns.
The Classic API Key
The most straightforward method you'll run into is the good old API Key. Just think of it as a unique password for your script or application. The cleanest and most common way to use it is by sending it in the request headers.
Here’s a simple curl command that shows how to pass an API key using the Authorization header. This is the industry standard.
curl -H "Authorization: Bearer YOUR_SUPER_SECRET_API_KEY"
-o secure_image.png
"https://api.okzest.com/v1/images/secure-example"
This keeps your secret key out of the URL itself, which is a big security win. Some APIs might ask you to stick the key in the URL as a query parameter (like ?api_key=...), but that's less ideal. URLs often get logged in server histories, browser caches, and analytics tools, leaving your key exposed.
A More Secure Approach: Signed URLs
For a much more robust and secure model, especially when you need to grant temporary access to a private image, you'll often see services use signed URLs. This is the go-to method for cloud giants like AWS S3 and Google Cloud Storage.
Here's the idea: instead of your application sending its master secret key with every request, your backend server first talks to the image service. It proves who it is and asks for a special, one-time-use URL for a specific image. That URL comes back with a cryptographic signature and an expiration time baked right in.
A signed URL is like a digital single-use keycard. It only works for one door (the specific image) and expires after a few minutes. It gives someone temporary access without handing over the master keys to the building.
Your application then uses this temporary URL to make the GET request, just like any other link. The API on the other end checks the signature and the timestamp, and if everything lines up, it serves the image. It's an incredibly secure pattern because the URL becomes useless once it expires, drastically cutting down the risk if it's ever exposed.
To dig deeper into these patterns, check out our complete guide on building a REST API for image handling.
This signed URL approach is perfect for scenarios like:
- User-Specific Content: Serving a personalized PDF certificate or a custom-generated report that only a single user should ever be able to see.
- Secure Downloads: Letting a customer download a digital product they just paid for, without giving them a permanent link they could share.
- Frontend Access: Allowing a user's web browser to fetch a private image directly from the source, without you needing to proxy the request through your own server.
Getting comfortable with both API keys and signed URLs gives you the flexibility to work with virtually any protected image API out there, helping you build more secure and professional applications.
You've successfully pulled an image from a REST API. That's a great first step, but in the real world, performance is what truly matters. Users have zero patience for slow-loading images, and a laggy API response can kill the entire experience.
This is where smart caching and Content Delivery Networks (CDNs) become your best friends.

Your first line of defense against sluggish load times is good old HTTP caching. By setting the right response headers from your API, you can tell a user's browser to save a local copy of an image. This simple trick can completely eliminate the need for future API calls for that same image.
Here are the two headers you absolutely need to know:
Cache-Control: This is the big one. A value likepublic, max-age=86400tells the browser (and any intermediary cache) that it's okay to store this image for 24 hours (86,400 seconds). For repeat visitors, this is a game-changer.ETag: Think of anETag(entity tag) as a version number for the image. When the browser's cache eventually expires, it sends thisETagback to your API. If the image hasn't changed, your server can instantly reply with a304 Not Modifiedstatus without re-sending the entire file, saving a ton of bandwidth.
Key Takeaway: Caching isn't just a nice-to-have for image-heavy applications; it's essential. Properly configured headers will slash your server load, cut bandwidth costs, and create a much zippier experience for your users.
Supercharge Delivery with a CDN
Browser caching is fantastic for repeat visitors, but what about reaching a global audience? That’s where a Content Delivery Network (CDN) comes in. A CDN is a worldwide network of servers that caches your content in locations physically closer to your users.
When you put a CDN in front of your image API, the magic happens.
Imagine a user in London requests an image for the first time. The CDN fetches it from your origin server (maybe in New York) and delivers it. But here's the crucial part: it also saves a copy on its server in London. Now, the next user from London who requests that same image gets it almost instantly from the nearby CDN node. Your API is never even touched.
This approach is so effective it's the industry standard. High-performance image APIs routinely achieve response times under 200ms, a feat made possible by aggressive caching and global CDNs. It’s a core part of building a robust system, and it’s a topic we explore more deeply in our guide to API integration best practices.
While getting images to the user quickly is vital, it's just one piece of the puzzle. A fast image on a slow page still results in a bad experience. To zoom out and get the full picture, it's worth exploring broader website performance optimization strategies.
Embedding Images and Avoiding Common Pitfalls
So, you've successfully fetched an image from the API. What now? The next step is all about getting that visual in front of your users, and how you do that depends on what the API sent back.
If the API was kind enough to give you a direct URL, your job is simple. Just pop it into an <img> tag and you're good to go. But if you received raw binary data, you have a couple of routes you can take.
A common approach is to convert that binary data into a Base64 string. This gives you a text version of the image that you can embed directly into the src attribute of an <img> tag using a data URI. It’s a handy trick for small things like icons because it saves an extra HTTP request, but be warned—it can seriously bloat your HTML if you use it for larger images.
Another solid, server-side strategy is to set up a simple proxy endpoint. Your frontend calls an endpoint on your own server (like /api/images/user-avatar), which then fetches the binary data from the external API and streams it back to the browser. This keeps your API keys safe and sound on your server and gives you total control over caching and how to handle any errors that pop up.
Handling Errors and API Limits
Things don't always go to plan. APIs can fail, networks can lag, and sometimes images just aren't there. A resilient application is one that anticipates these little hiccups. What happens if the API throws a 404 Not Found or a 500 Internal Server Error? Your code needs a plan B.
Instead of letting a broken image icon ruin the user experience, always have a fallback image ready. This could be a generic placeholder or a default brand graphic. It’s a small detail, but it makes your application feel polished and reliable, keeping things consistent even when the backend is having a bad day.
A robust fallback strategy is non-negotiable. It turns a potential error into a controlled, predictable outcome, which is key to maintaining user trust and application stability.
Don't forget about API rate limits, either. If you hammer an API with too many requests in a short time, you'll likely get temporarily blocked. Implementing some form of caching, whether on the client-side or server-side, is crucial. It minimizes redundant calls and shows you respect the API's usage policies.
Optimizing for Display
Getting the image on the page is one thing; making sure it looks good and loads fast is another. The format and dimensions you choose have a massive impact on performance and the overall user experience. Going beyond the technical side of fetching, understanding how to approach optimizing image and video formats for web content is vital for making your visuals shine.
There's a reason we've focused so much on REST. By 2023, a staggering 92% of APIs were RESTful, and image-related endpoints consistently rank among the most common uses. While other options exist, REST's straightforward nature keeps it the go-to for image GET requests. This whole process can be sped up even more with smart caching, which can boost your throughput significantly. These kinds of trends show just how foundational a well-implemented rest api get image example is in modern web development.
Common Questions Answered
When you're working with REST APIs to fetch images, a few common questions always seem to pop up. Let's break down the answers to help you iron out the details and sidestep any potential snags in your project.
URL vs. Binary Data: What's the Difference?
I see this question a lot. When an API gives you an image URL in a JSON response, it's essentially handing you a signpost—a simple string of text that points to where the image lives. Your app then has to make a second request to that address to actually grab the image. This is perfect for when you just need to pop an image onto a webpage.
Getting binary data, on the other hand, means the API sends the raw image file—the actual bytes—directly in its response. This is the way to go when you need to do something with the image on your server, like saving it to a file, running it through an analysis tool, or streaming it somewhere else.
The bottom line: A URL is just a location, while binary data is the file itself. Your choice depends on whether you just need to display the image (use the URL) or process it first (get the binary data).
How Do I Handle Different Image Formats Like JPG and PNG?
A well-built REST API won't leave you guessing. It will tell you exactly what kind of image you've received using the Content-Type response header. Your code should always check this header for values like image/jpeg or image/png to figure out the right file format and extension.
Even better, many modern APIs let you specify what you want. You can send an Accept header in your request to tell the server which formats you prefer. For instance, sending Accept: image/webp lets the API know your app can handle the speedy WebP format, and it will send that version if it has it.
Can I Request a Specific Image Size from an API?
This one depends entirely on the API's design, but it's a huge time-saver when available. Many powerful image services, especially those used for content management or dynamic image generation like OKZest, let you request specific dimensions using query parameters.
You'll typically see an endpoint that looks something like this: GET /api/images/123?width=800&height=600. This is incredibly efficient because it pushes the resizing work onto the server and saves you a ton of bandwidth by only sending the pixels you actually need. Always check the API documentation to see if this is supported and what the right parameter names are. It's a key feature you'll find in any solid rest api get image example.
Ready to stop fighting with code and start creating amazing, personalized images on the fly? OKZest gives you both no-code and API tools to generate one-of-a-kind visuals for every single customer. It's perfect for email campaigns, event certificates, and social media content that truly connects. See what you can build at https://okzest.com.